
Additional Settings
🌟 Find out the extra settings that you can adjust within Settings Configuration!
Note:
Refer to the Data Provider for API Responses.
You can adjust your configuration settings within the Settings module. Follow these steps to edit your configuration settings.
Set up Data Provider
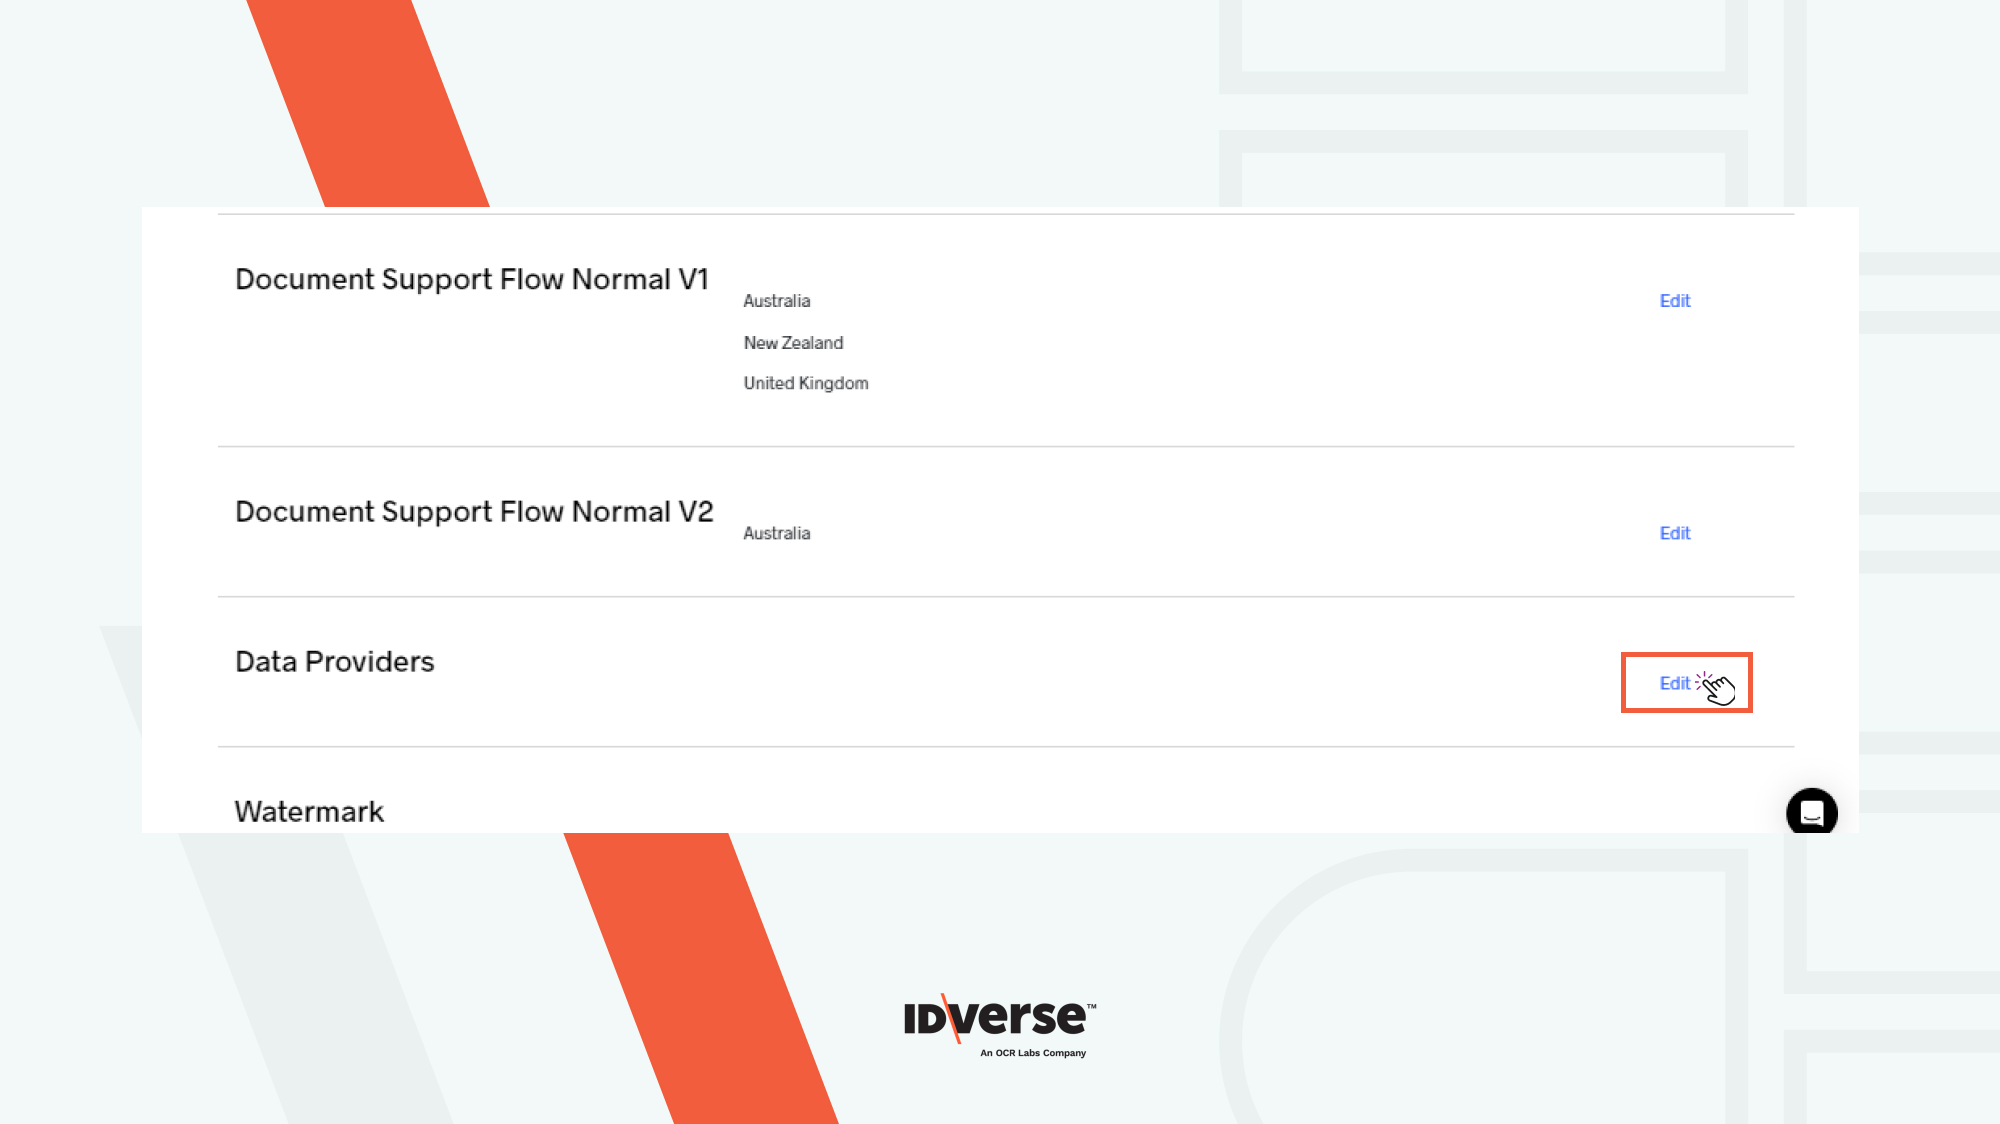
- Go to the Settings module on your IDKit portal.

- Click on the Configuration page.

- In the Data Providers section, you can edit your Data Providers by selecting the Edit button.
- You will be redirected to the Data Providers menu. You can select your identity document providers by clicking on the top-left radio button on each block.

We provide the following providers as seen below:
| Type | Integration | Billing | Provider | Supported Documents |
|---|---|---|---|---|
| IDVerse Data Connect | Powered by IDVerse, no 3rd party account is required. (International Data Check provided by Data Zoo.) | Billed monthly with your IDVerse invoice. | 1. No data checking 2. Data Connect - Data Check Australia 3. Data Connect - Data Check International | Data Connect - Data Check Australia: - Australian Driver Licence - Australian Passport Data Connect - Data Check International: Government-based photo IDs (USA, New Zealand, and UK) - Powered by Data Zoo |
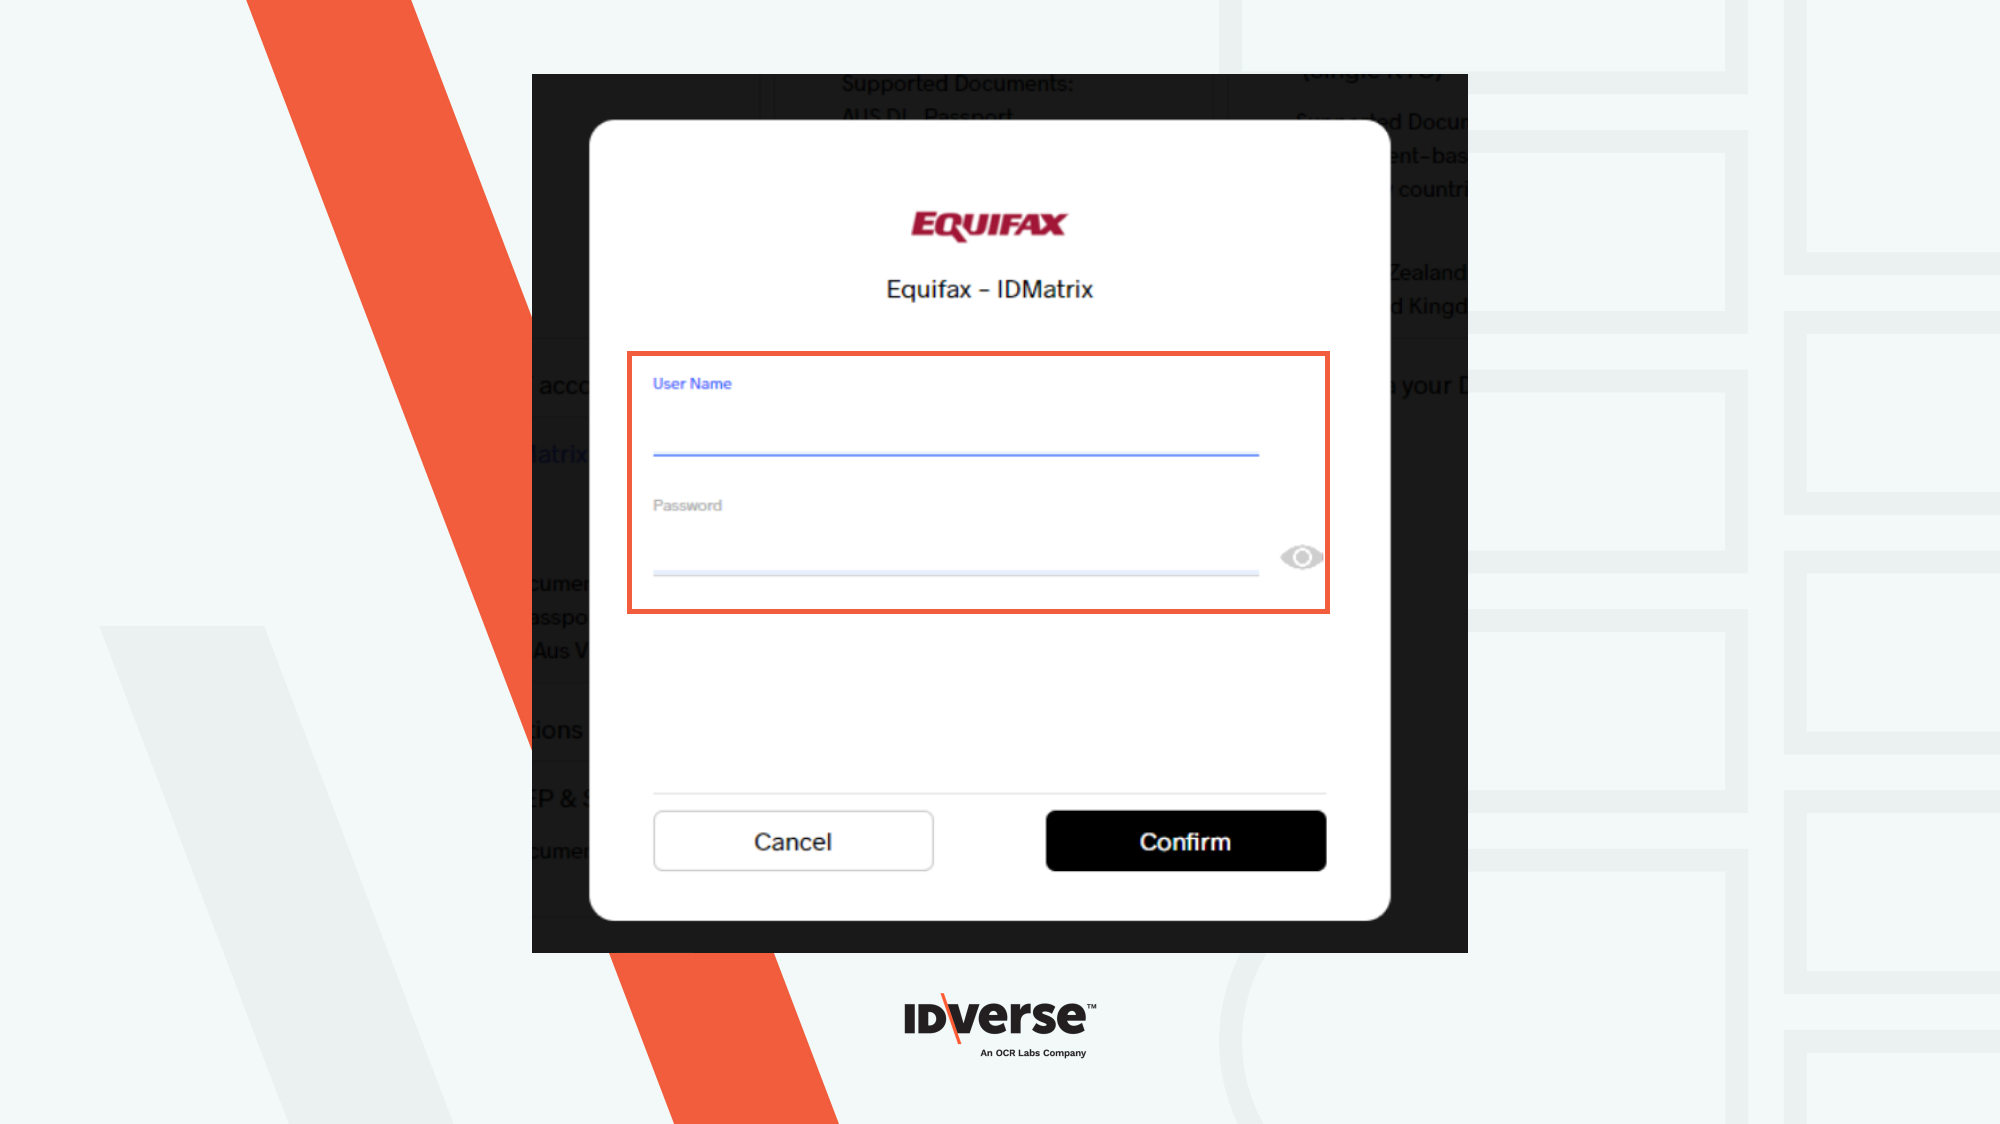
| Equifax | Equifax account and API credentials are required. | Billed via Equifax. | IDMatrix Data Provider | - Australian Driver Licence - Australian Passport - International Passport with Australian Visa |
| IDVerse Global PEP & Sanctions | Powered by IDVerse, no 3rd party account is required. (PEP & Sanction Service provided by Data Zoo.) | Billed via IDVerse PEP & Sanctions. | IDVerse PEP & Sanctions | - Driver Licence - Passport |
| OCR Labs PEP & Sanctions Powered by Acuris/ION | Powered by IDVerse, no 3rd party account is required. (PEP & Sanction Service provided by Acuris/ION.) | Billed via IDVerse PEP & Sanctions. | OCR Labs PEP & Sanctions, Powered by Acuris/ION | All documents with names and DOBs can be supported. |
| OCR Labs Data Connect Serpro Brazil | Powered by IDVerse, no 3rd party account is required. | Billed via OCR Labs Data Connect Serpro Brazil. | OCR Labs Data Connect Serpro Brazil | - Brazil DL - Brazil Passport |
Info:
- If you choose the "Equifax: IDMatrix Data Provider", please provide your Equifax account and connect it via the IDKit portal.
- If IDMatrix is used, we support Immigration cards in both Normal V2 and VOI 2 Flows.
- You will be returned to the Data Providers screen. You can either click the Save or the Close button to save or discard your selected providers.

Info:
For data check / validation services pricing, please contact your IDVerse representative.
Add a Watermark
To add a watermark, follow the steps below.
- Head over to the Watermark section on the configuration tab.
- Under the Watermark section, you can select whether to display the watermark in the PDF report by either checking or unchecking the checkbox shown below.

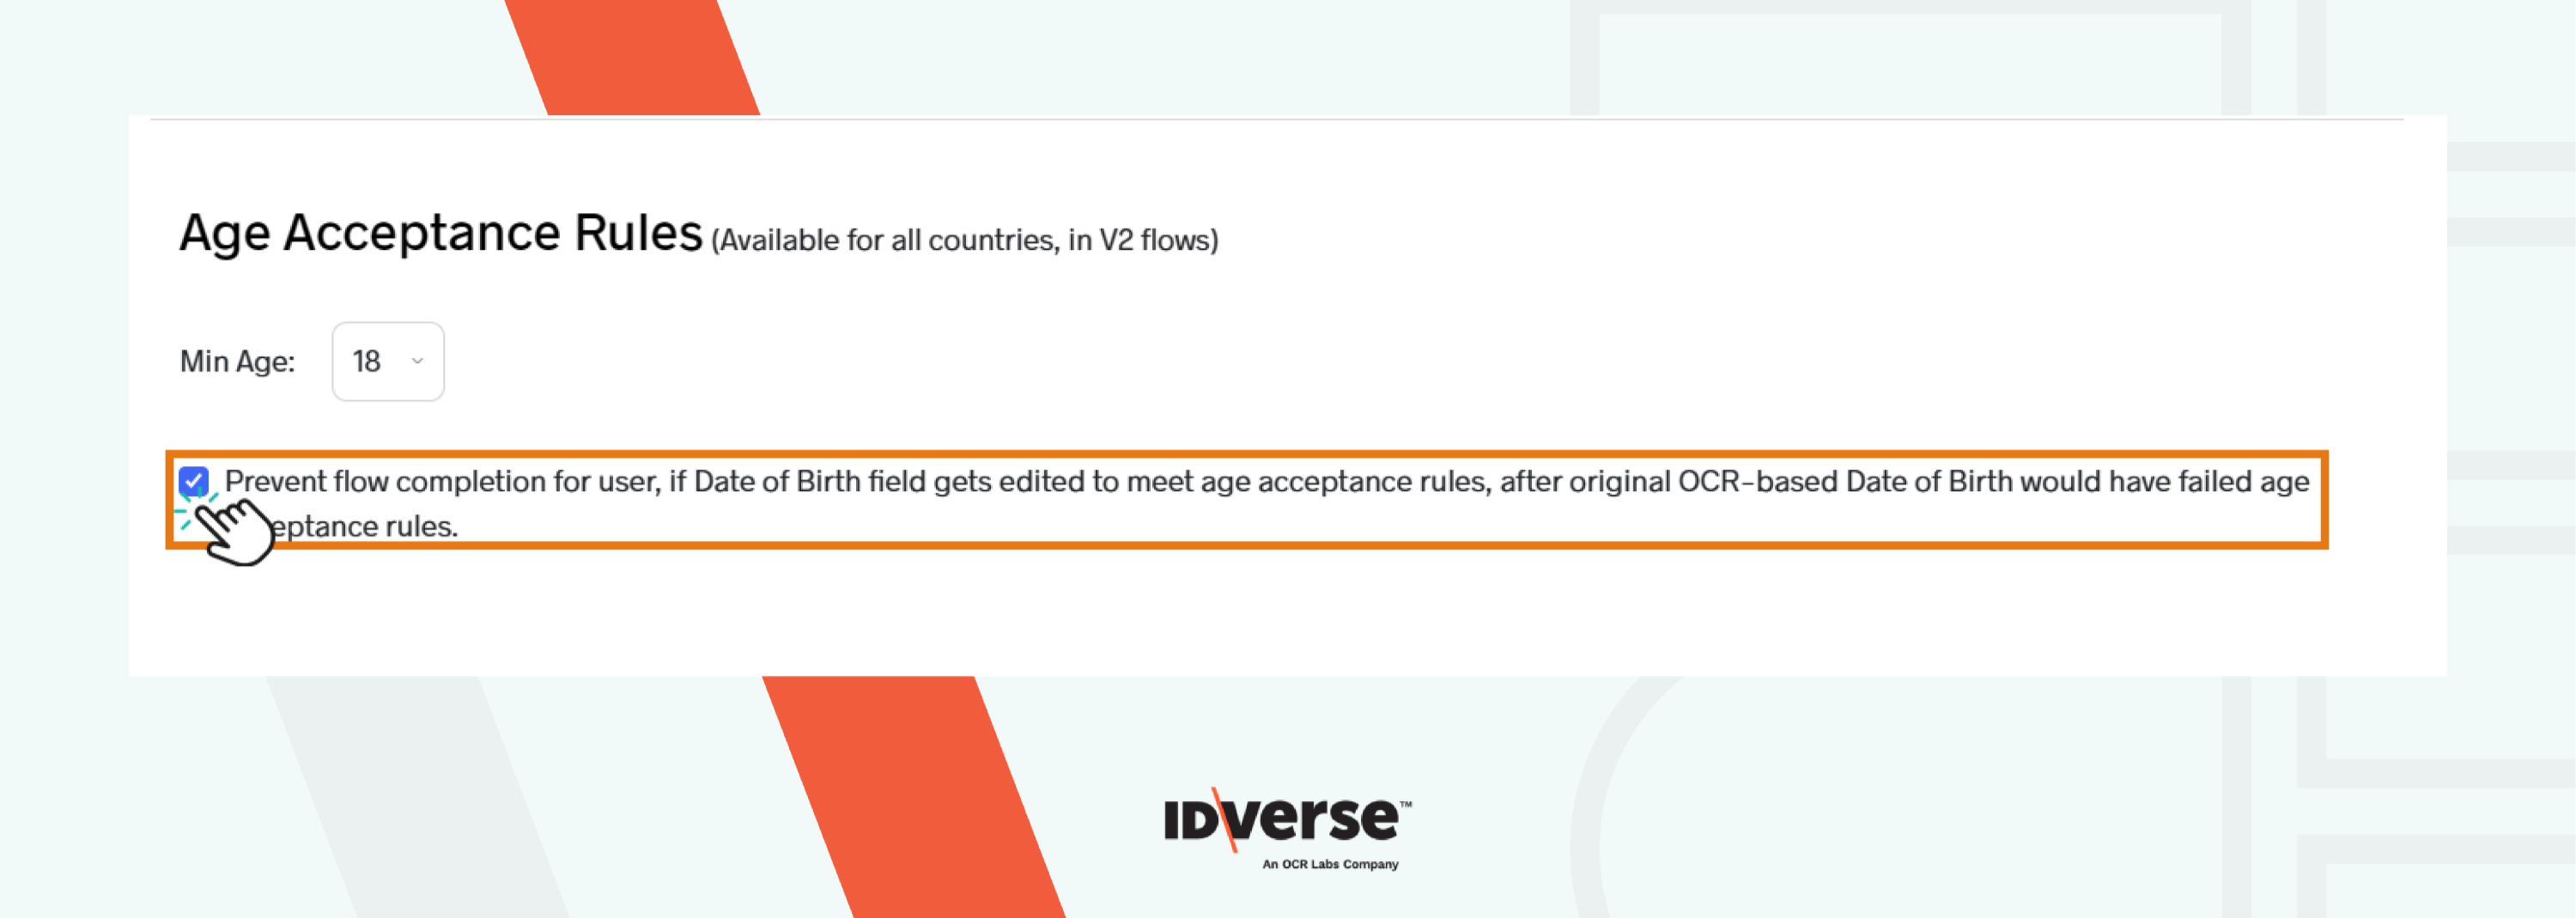
Set Age Acceptance Rules
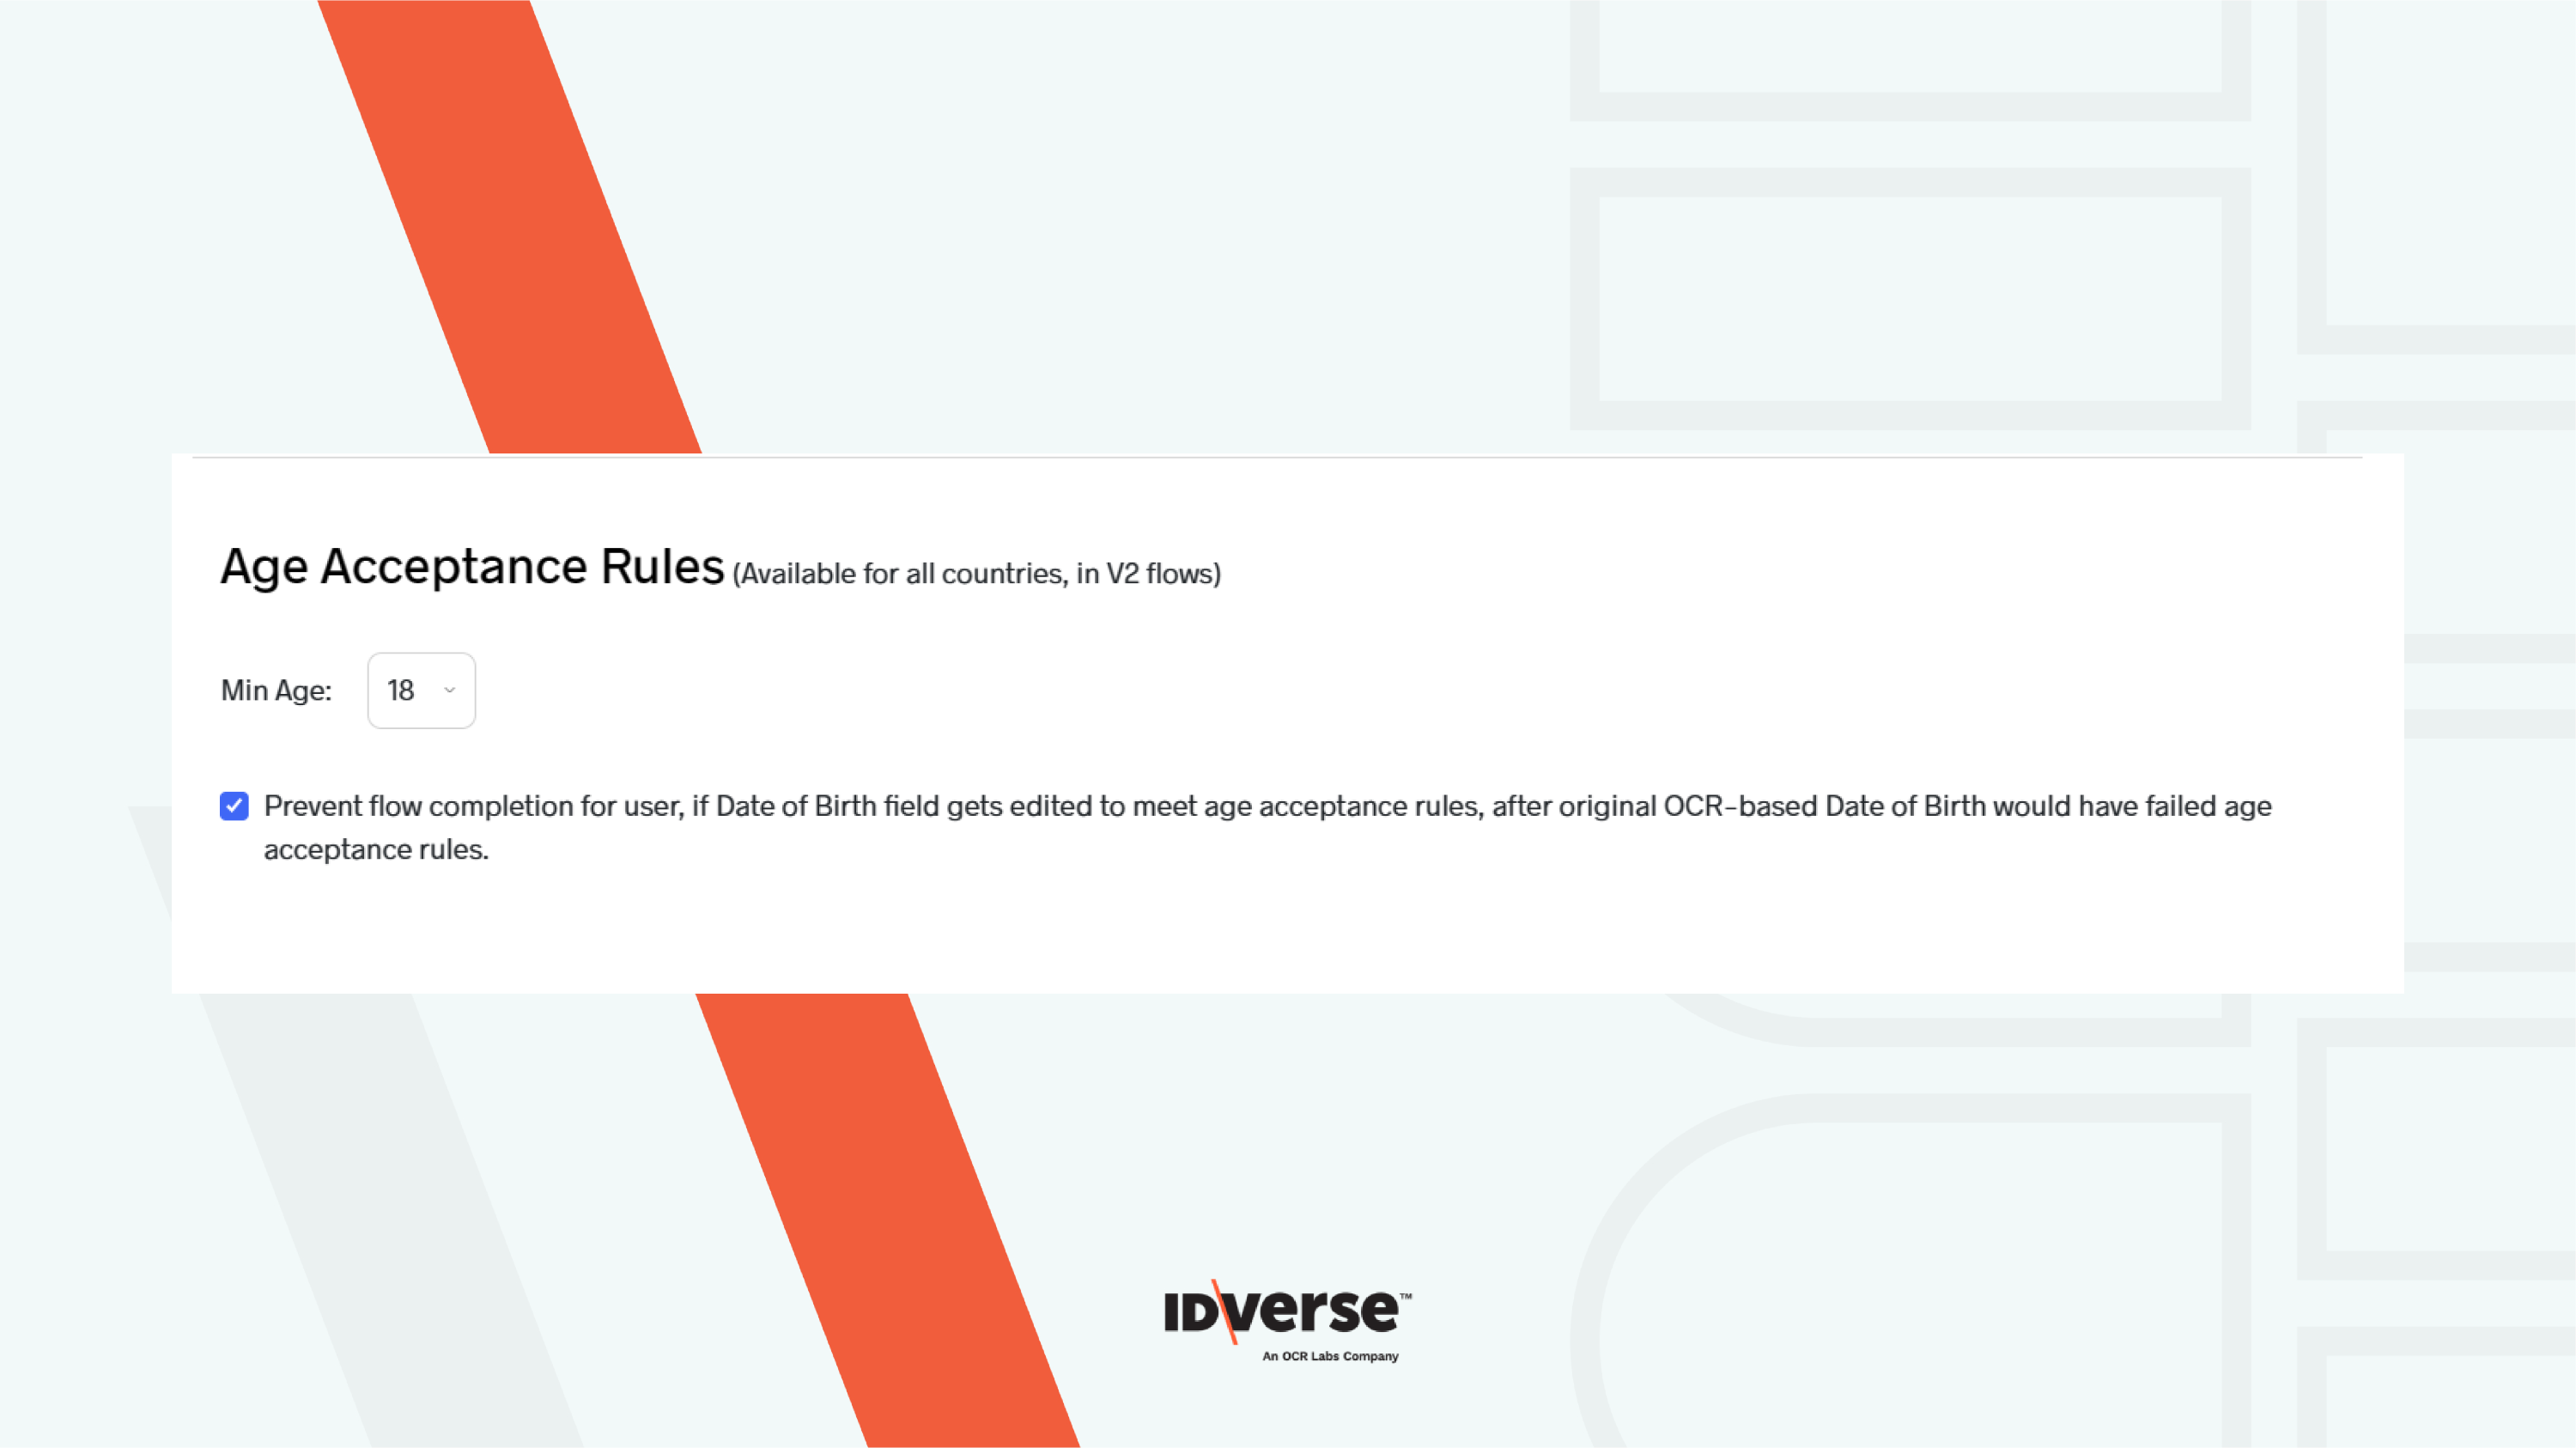
The Age Acceptance Rules section enables you to select a minimum age for users to be allowed to complete the verification flow. Set the Age Acceptance Rules by following the steps below:
Example:
If the minimum age is 18 and a user's age is below 18, the mobile flow will prevent the user from completing the verification and show an explanatory on-screen message.
Only applied to Normal, Simple V2 and VOI V2 flows.
- Go to the configuration tab's Age Acceptance Rules section.
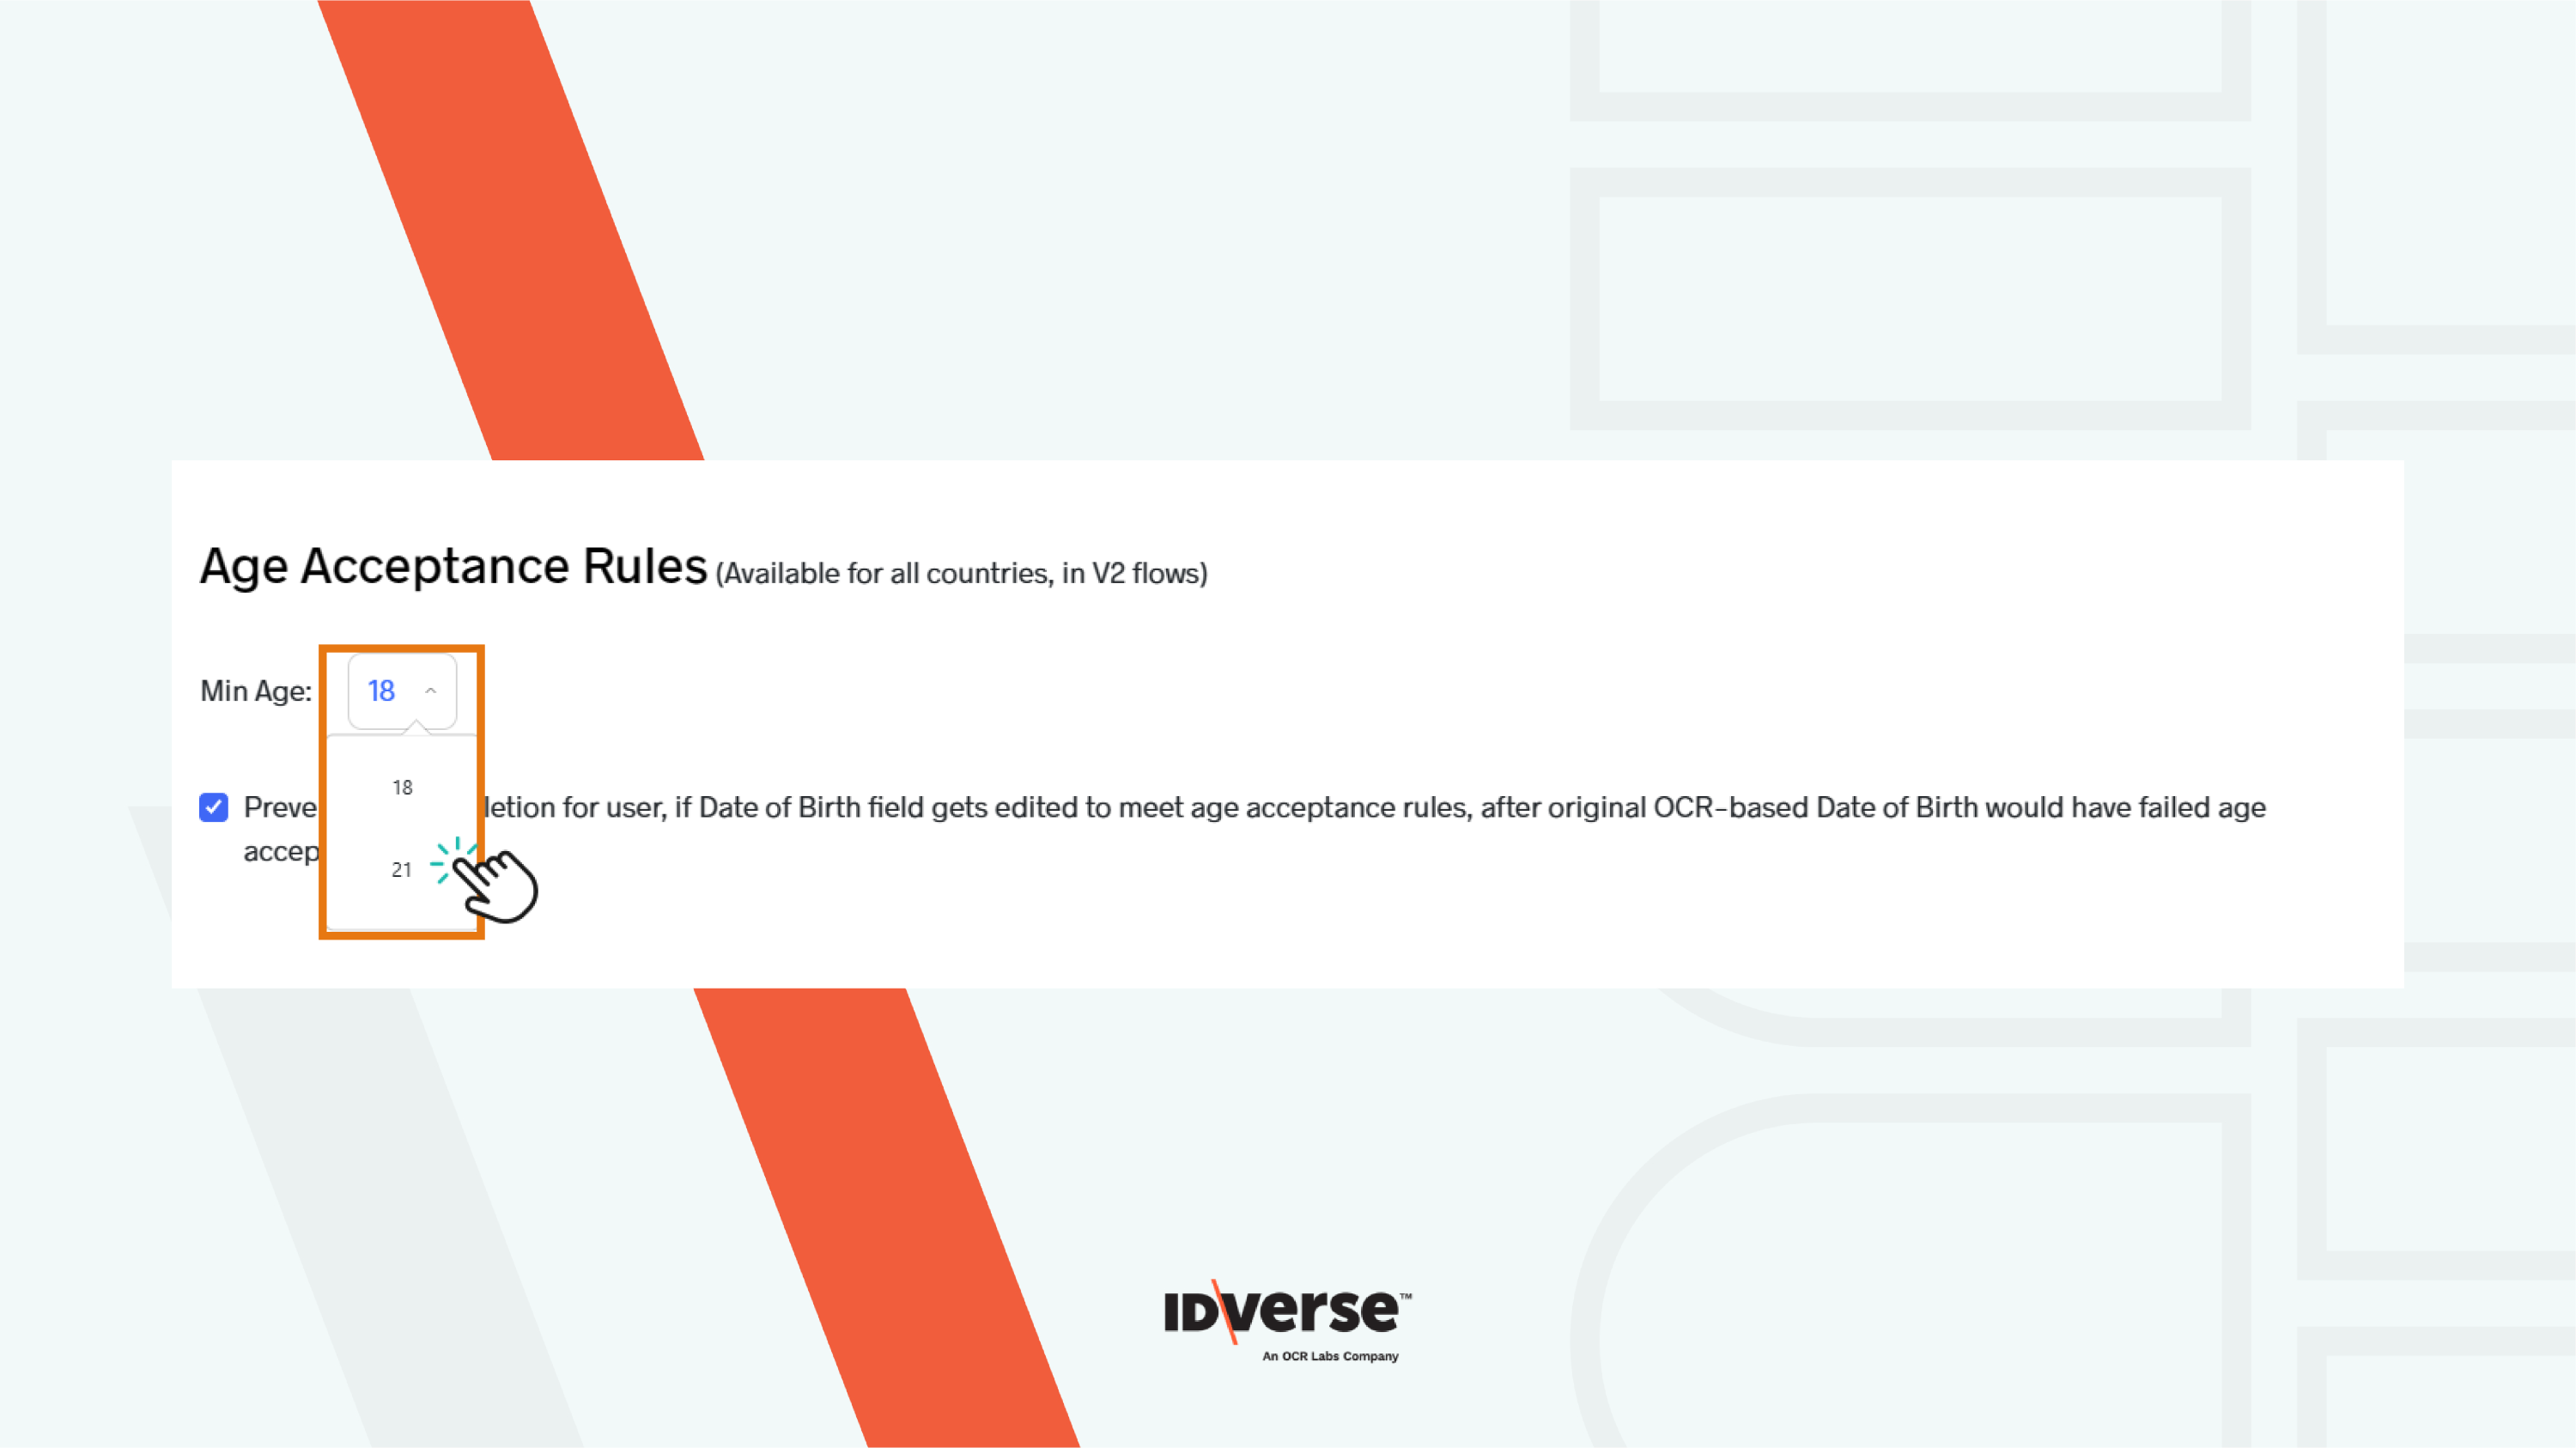
- Click the Min Age dropdown button.
- Select one of the available options from the list to set the minimum age.
- If you want to prevent users who have attempted to edit their age and failed to meet the age acceptance criteria from bypassing the rules, tick the configuration box below the Min Age dropdown button.
Note:
This step is optional.
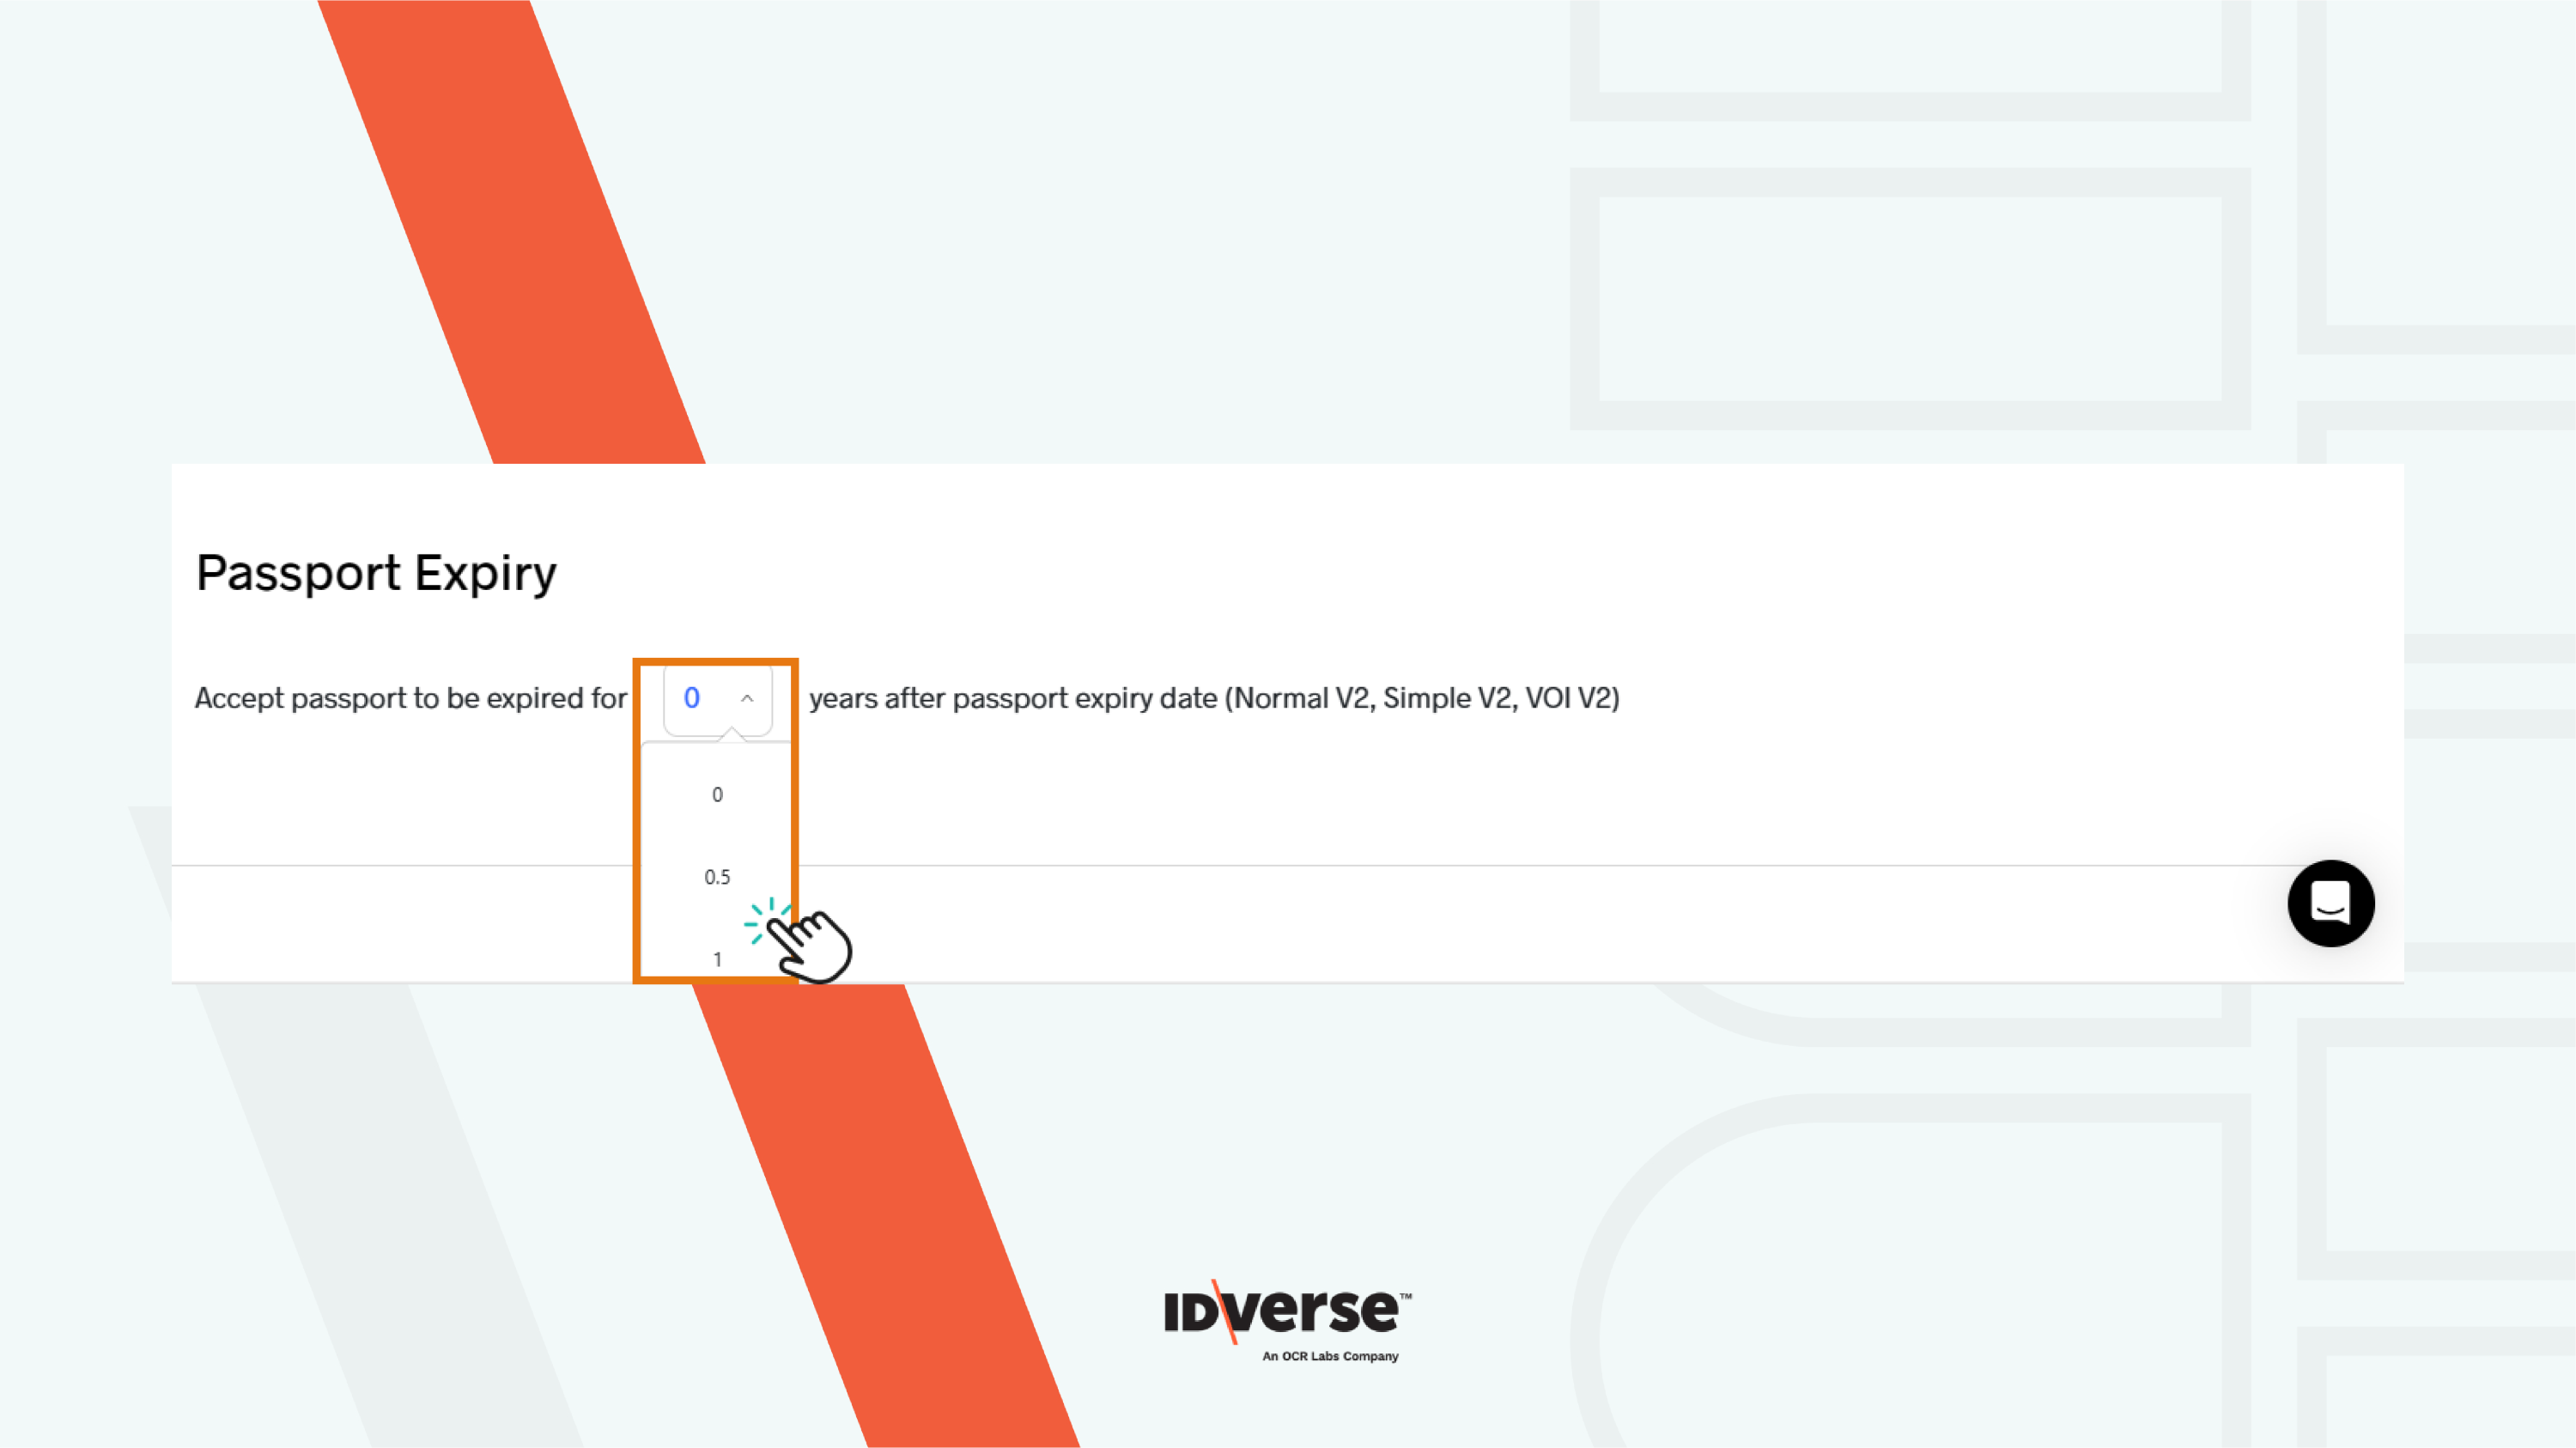
Set Passport Expiry
By default, expired passports get rejected, and the user can't complete the flow. With this setting, you can define the acceptable number of years after a passport has expired. Follow the steps below:
- Head over to the configuration tab's Passport Expiry section.
- Select one of the available options from the dropdown list to set the passport expiry.
Please note:
The passport expiry date can be changed manually by the user on the verify details screen.
Note:
Previously, if ID images had insufficient quality or cut-off edges, users were prompted to recapture once. As a client admin, if you wish to adjust the number of recapture attempts, please contact your IDVerse representative or customer support.
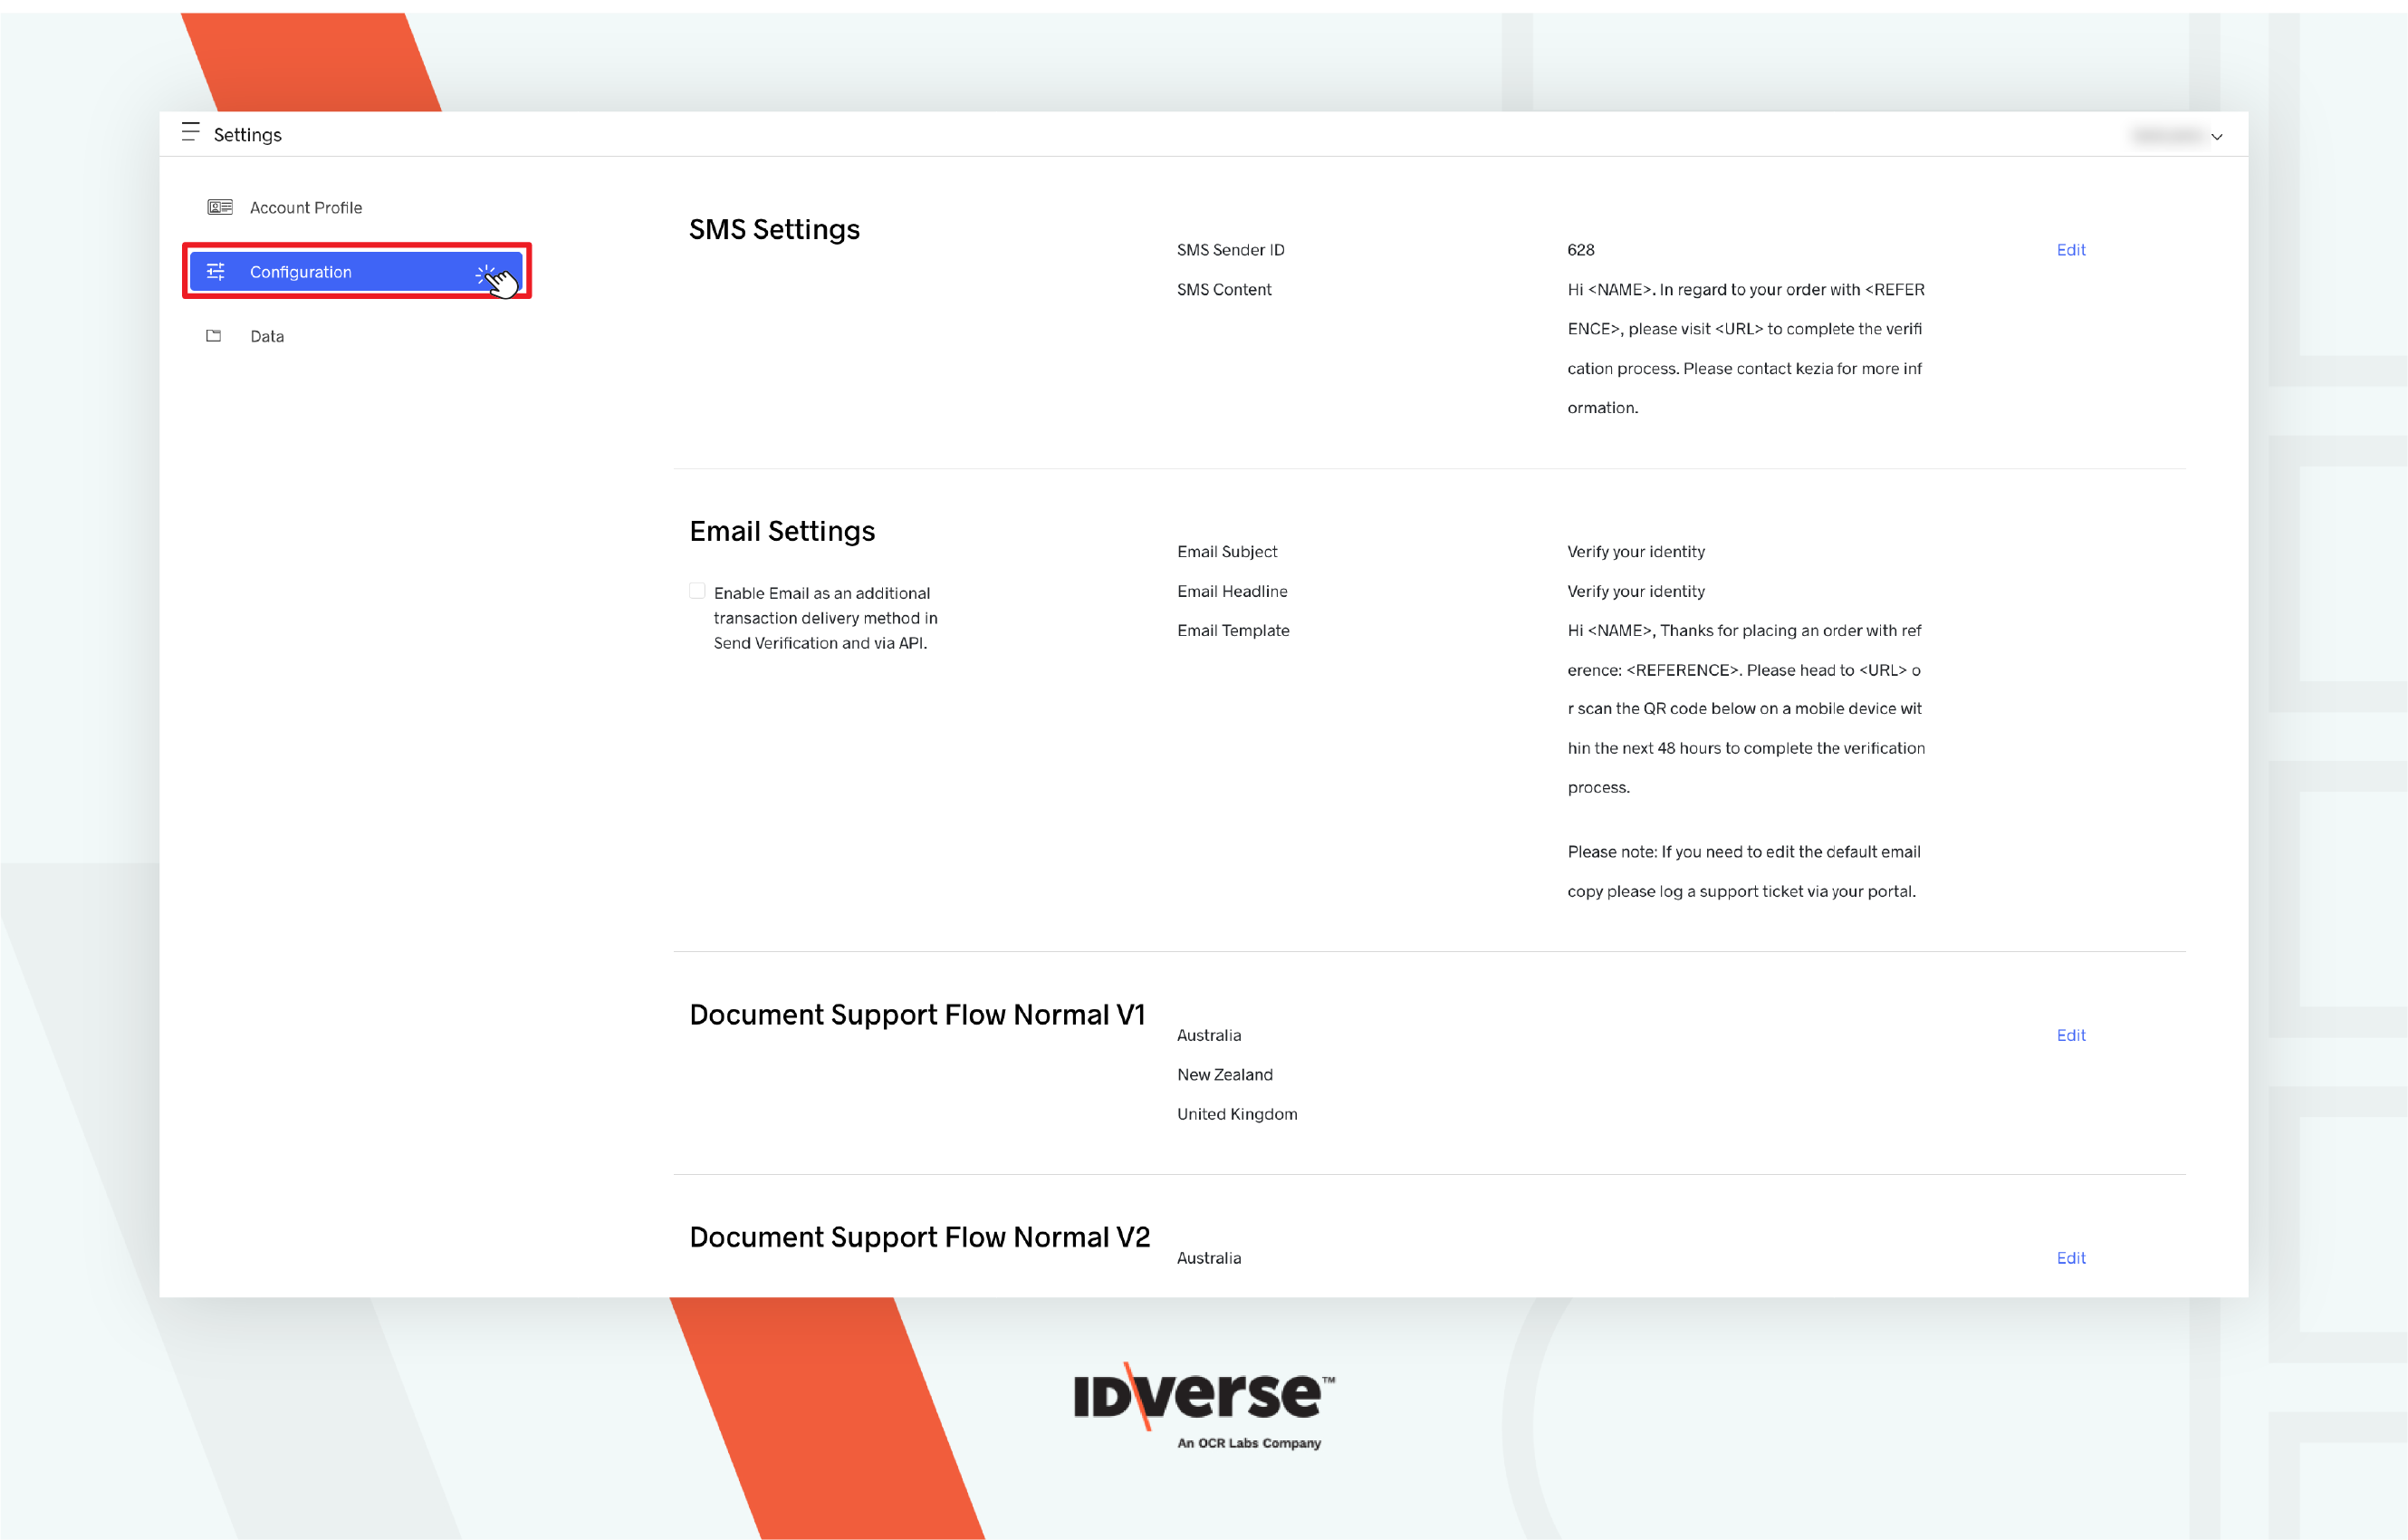
Set Email as a Delivery Method
-
Go to the Settings module on your IDKit portal.
-
Click on the “Configuration” tab.
-
Head over to 'Email Settings' and enable the email option. Once done, you will be able to select Email as the method when sending a verification. You can also view the email subject and body that will be included when the verification link is sent via email.

-
Info:
For limited customisation of the email subject and language, please contact IDVerse customer support.
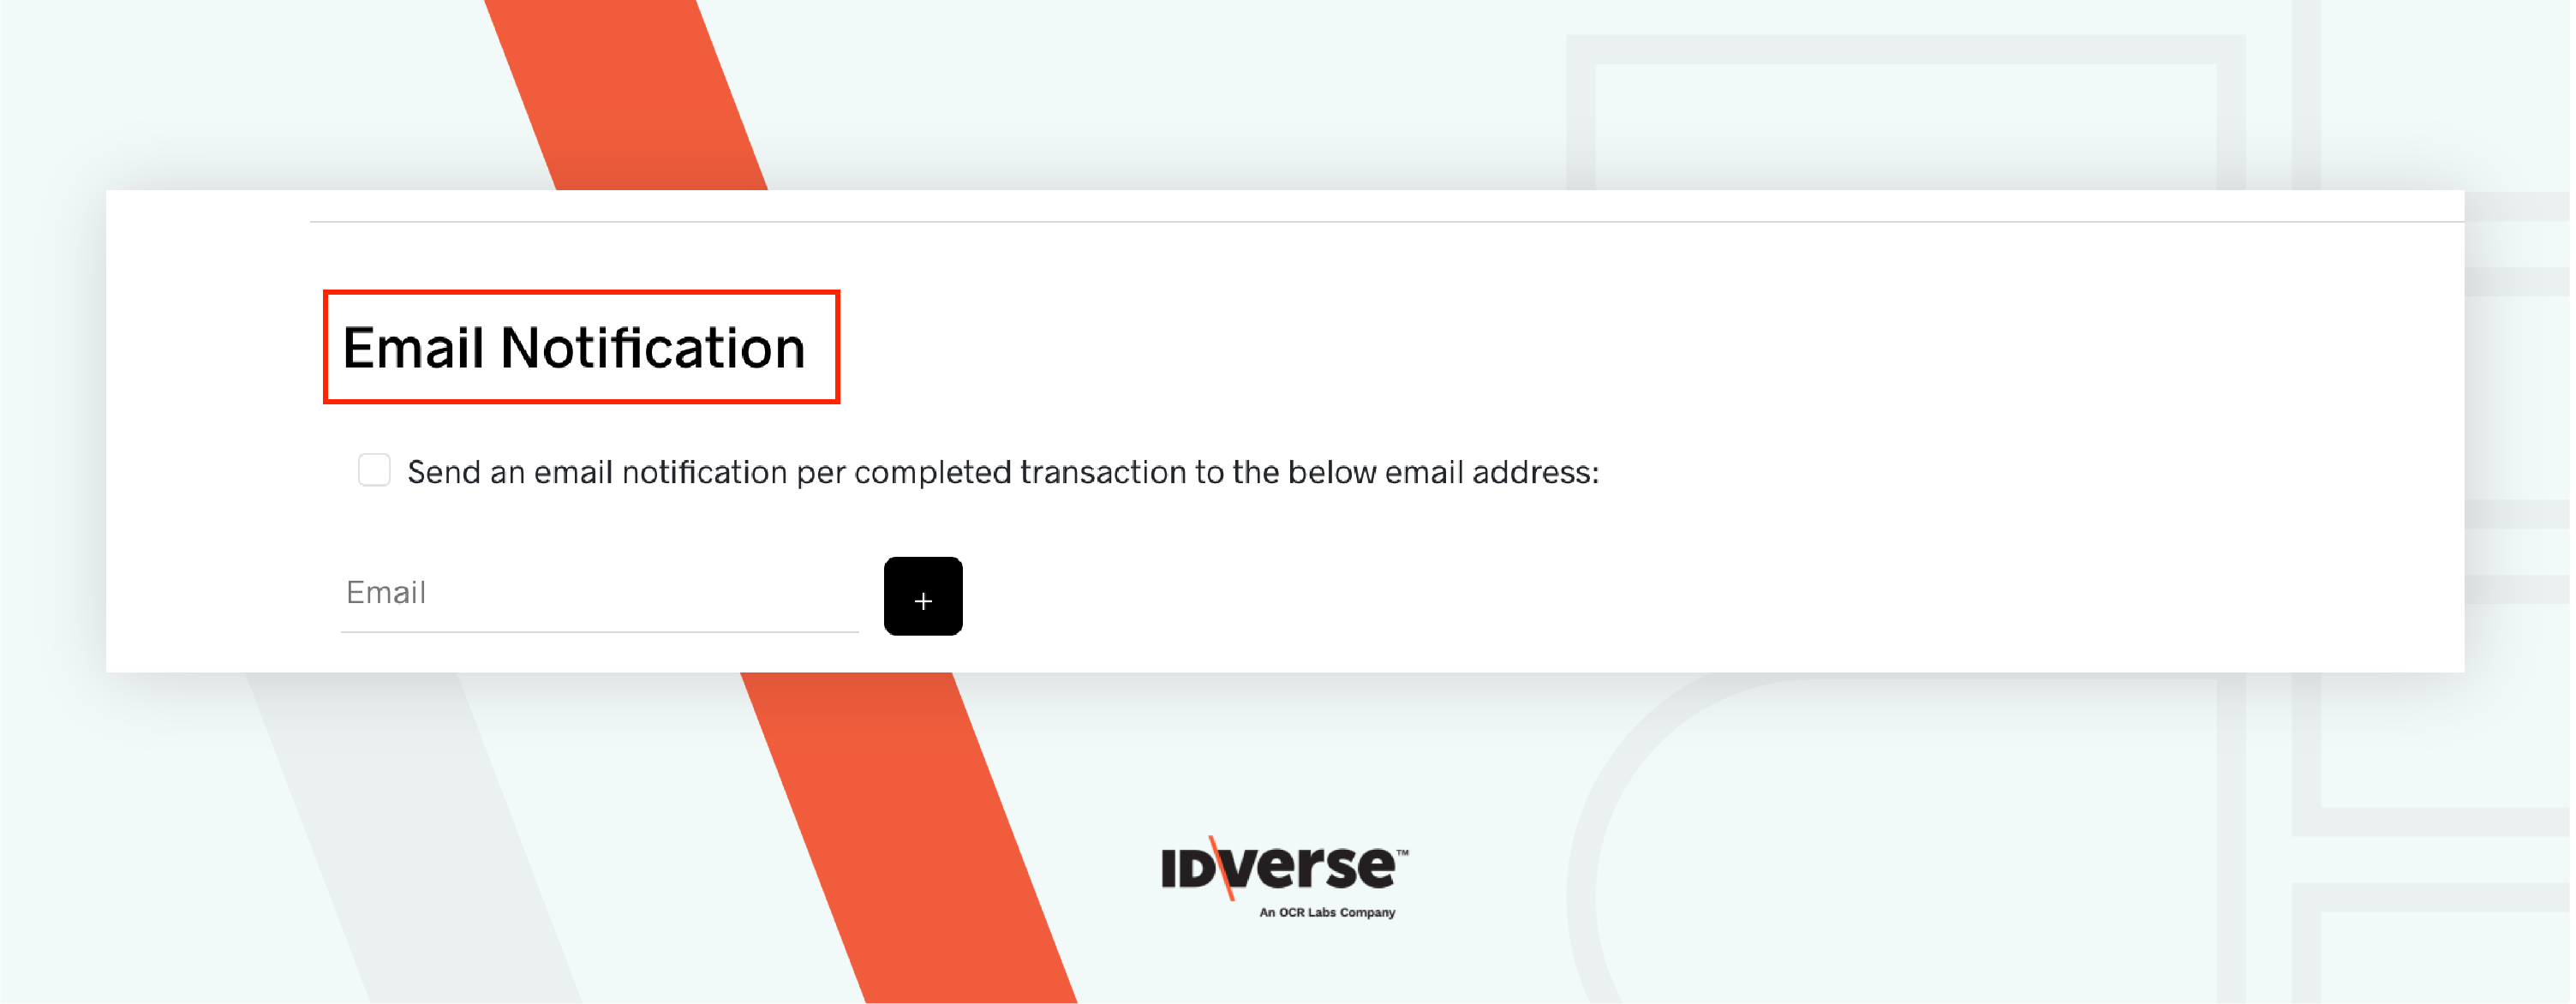
Set Email Notifications
This prompts specific IDVerse users to know the status of completed transactions. As a client admin, you can enable or disable the setting to receive email notifications. You can add multiple comma-separated email addresses that will receive notifications each time a transaction moves to the completed state.
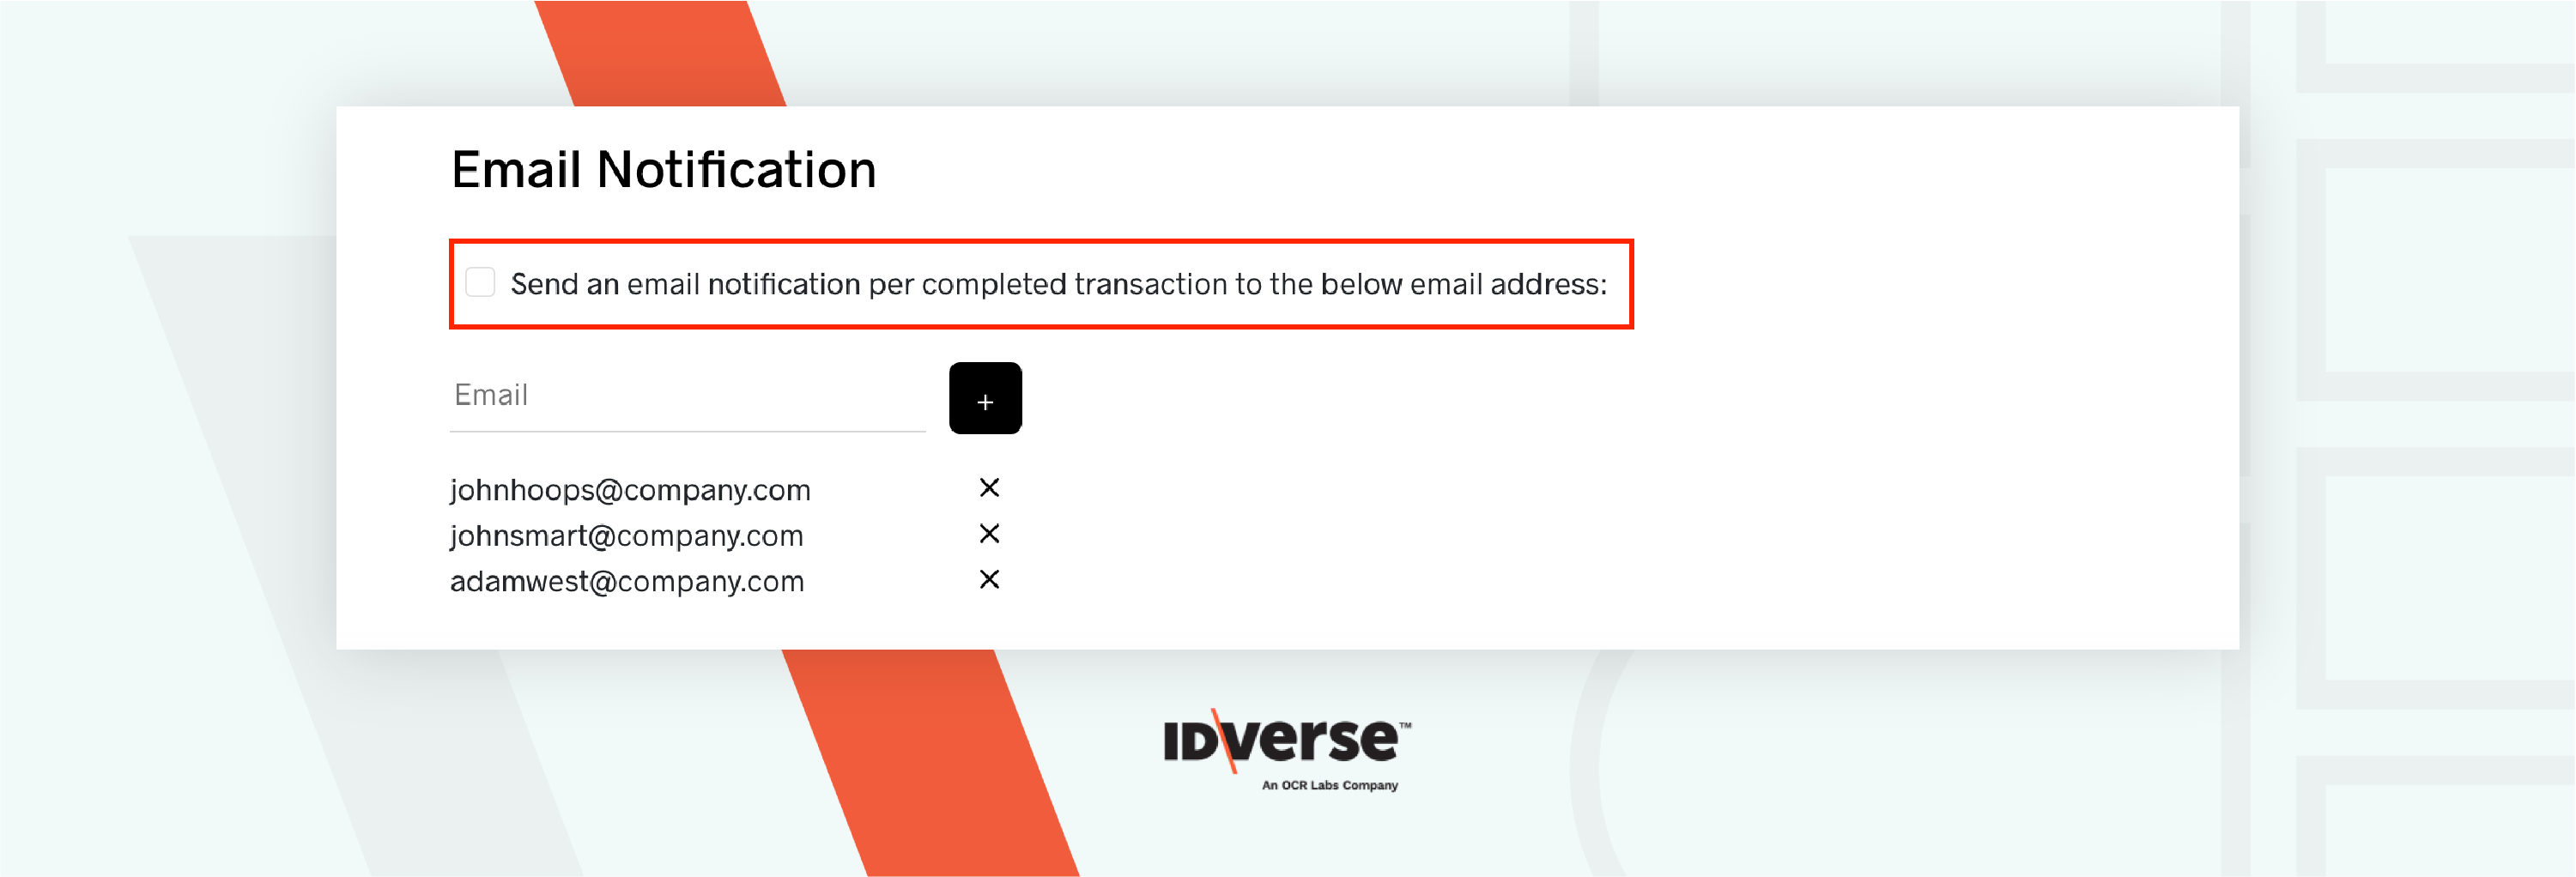
-
Head over to the configuration tab's Email Notification section.
-
Enable the checkbox “Send an email notification per completed transaction to the below email address”.
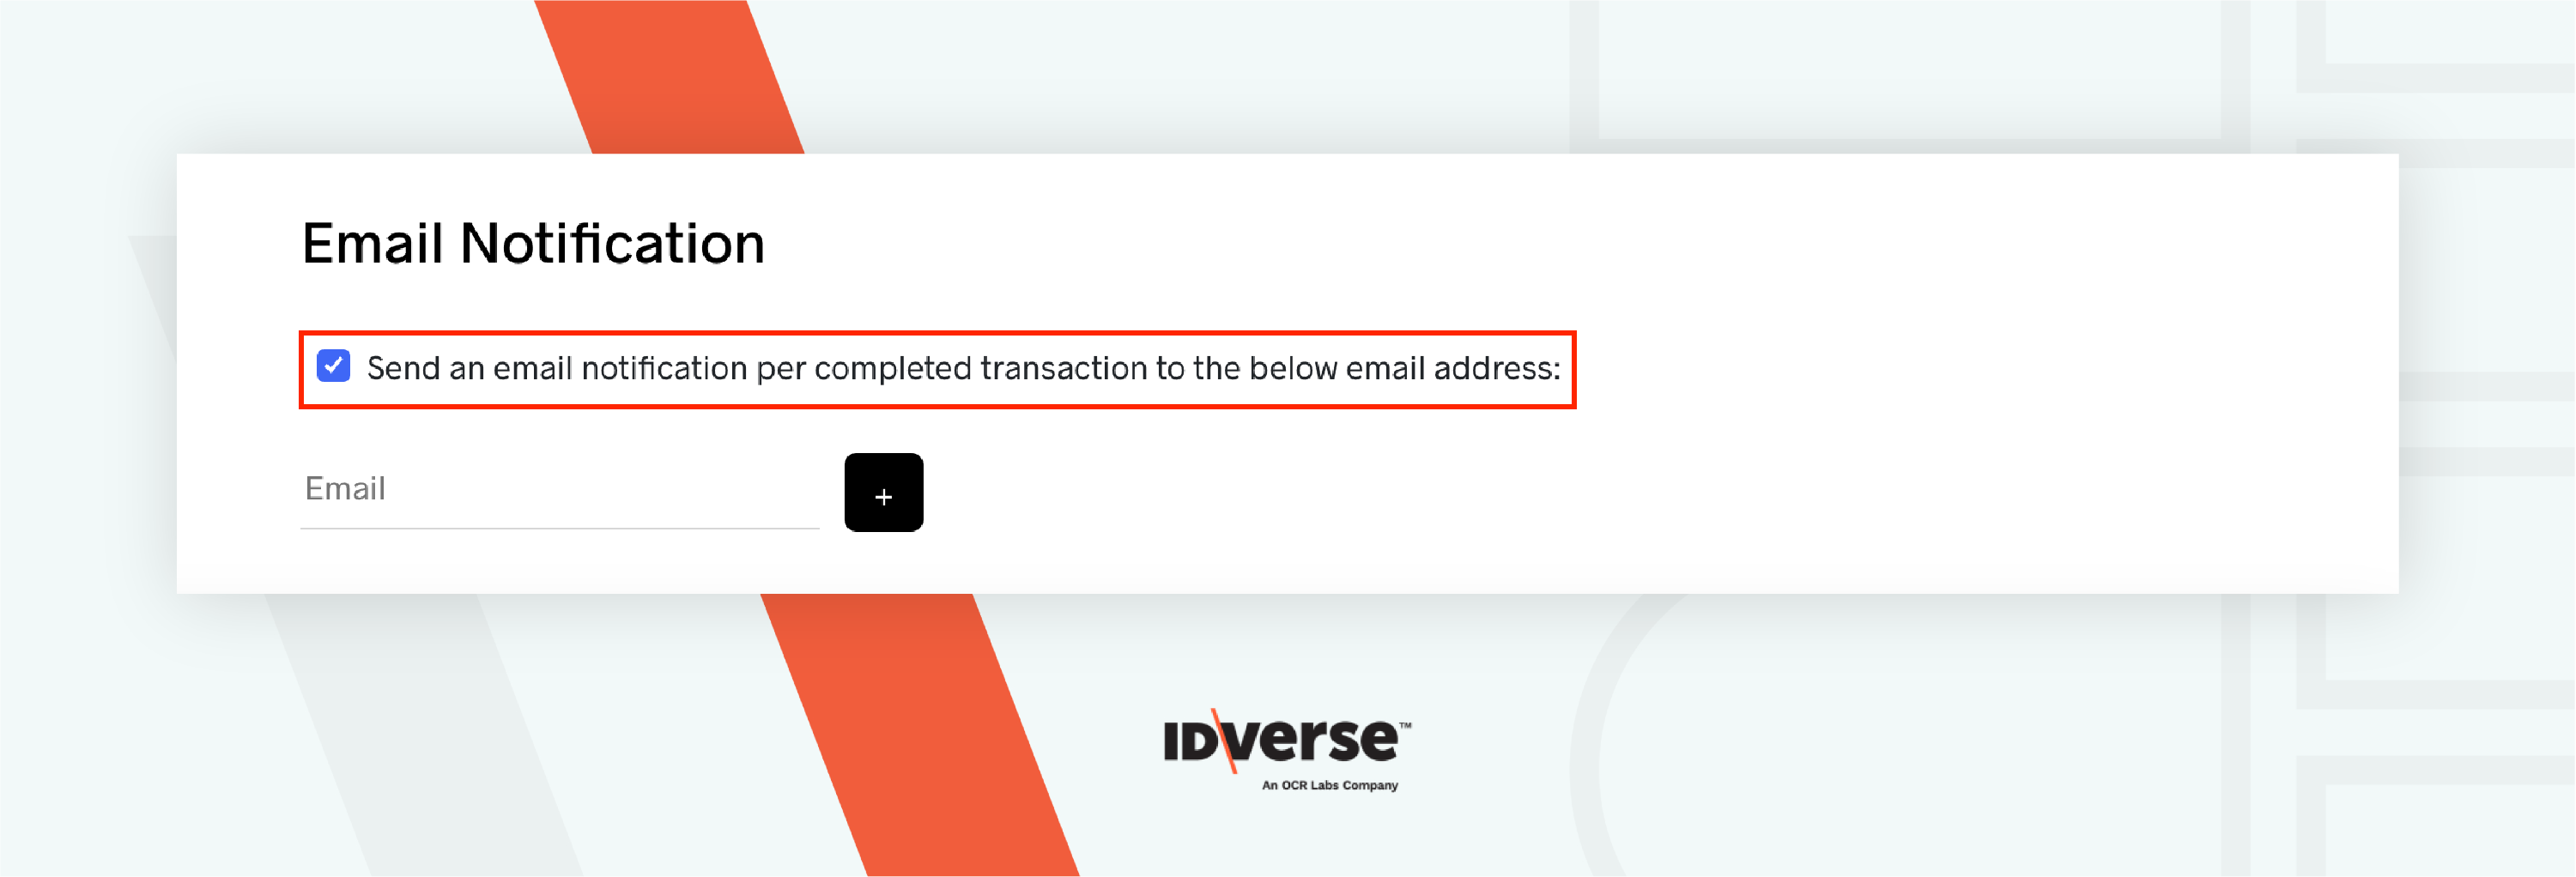
Remember:
To receive emails, the above checkbox should be checked!
-
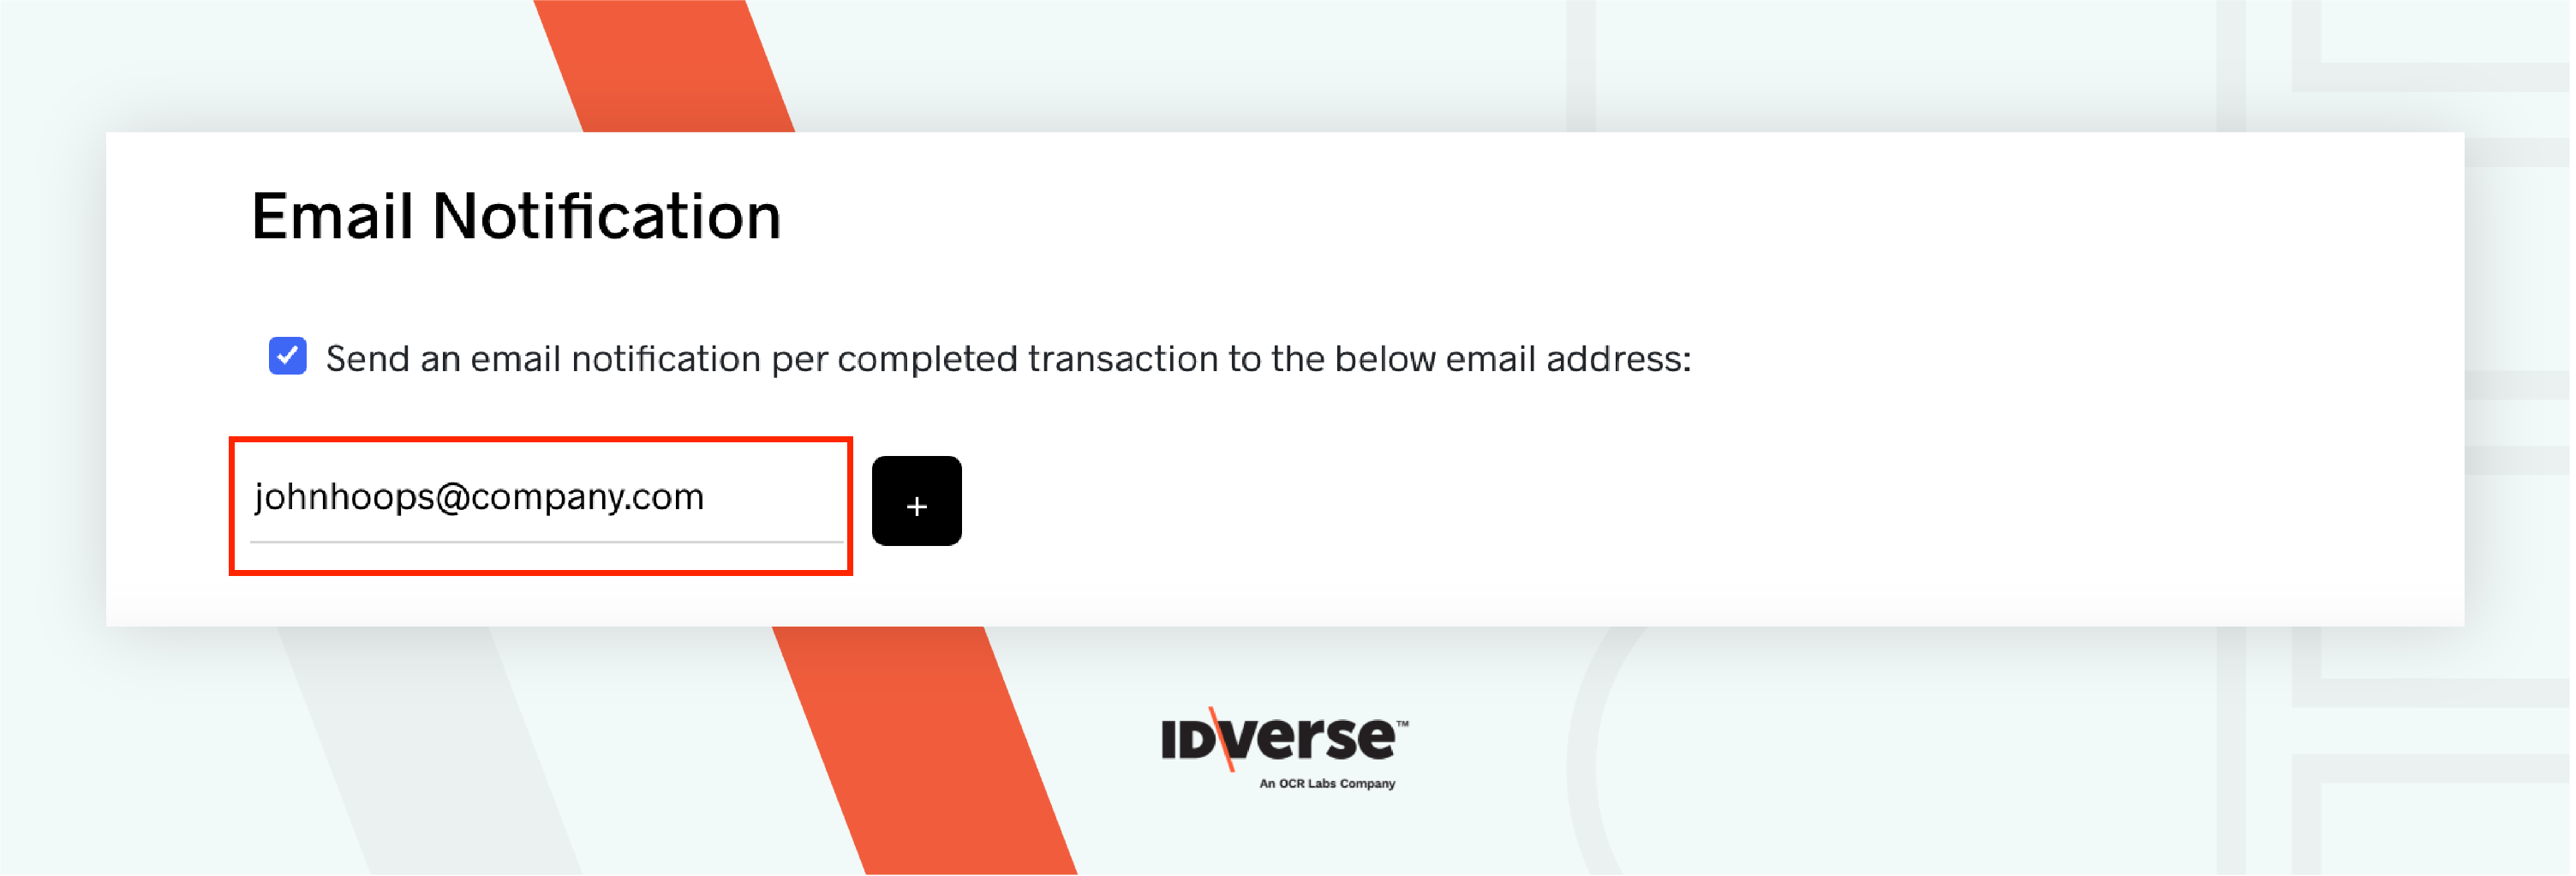
Enter email.
-
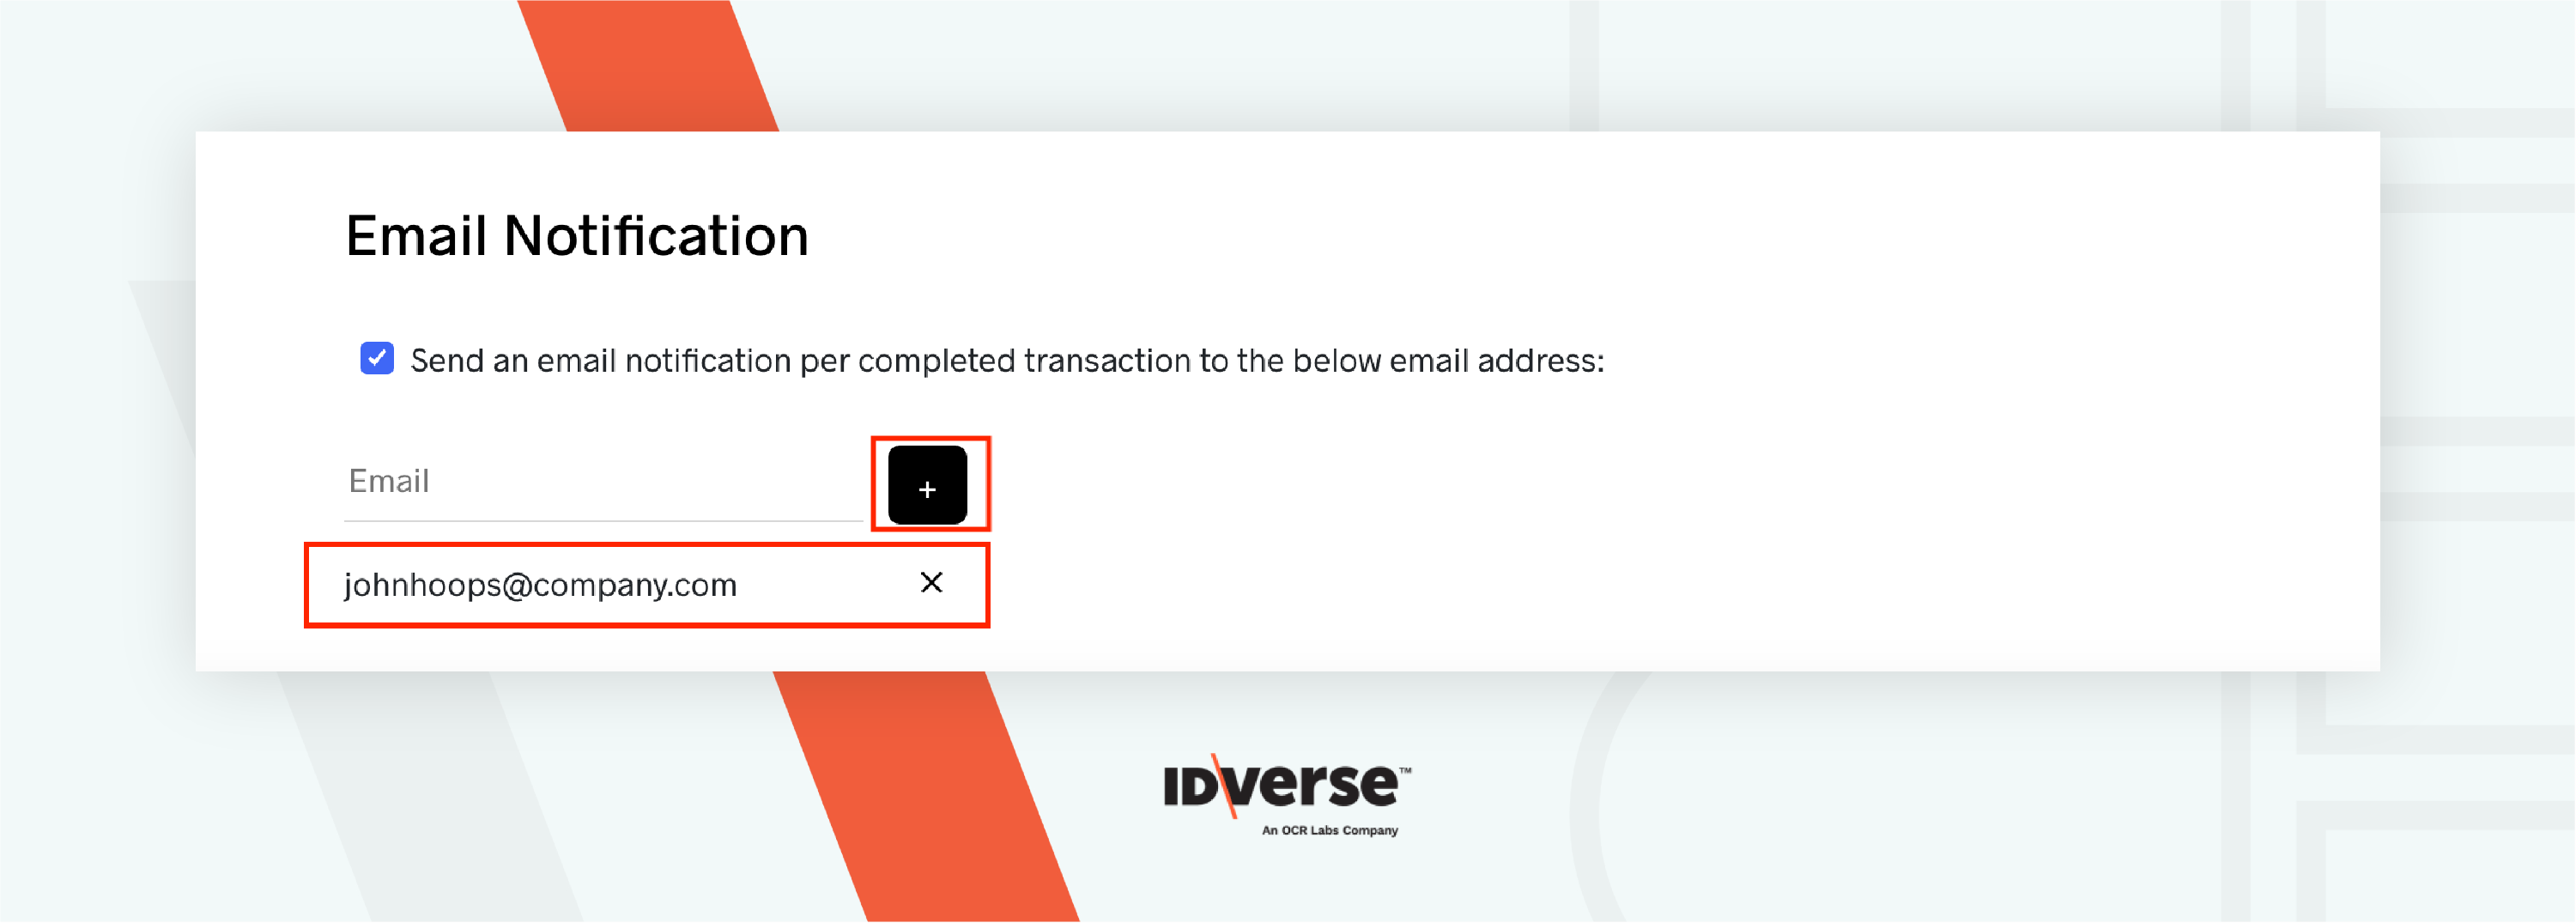
Click on the '+' icon. If the entered email is valid, it will be added to the list. This email will then receive notifications when a transaction moves to the completed state.
-
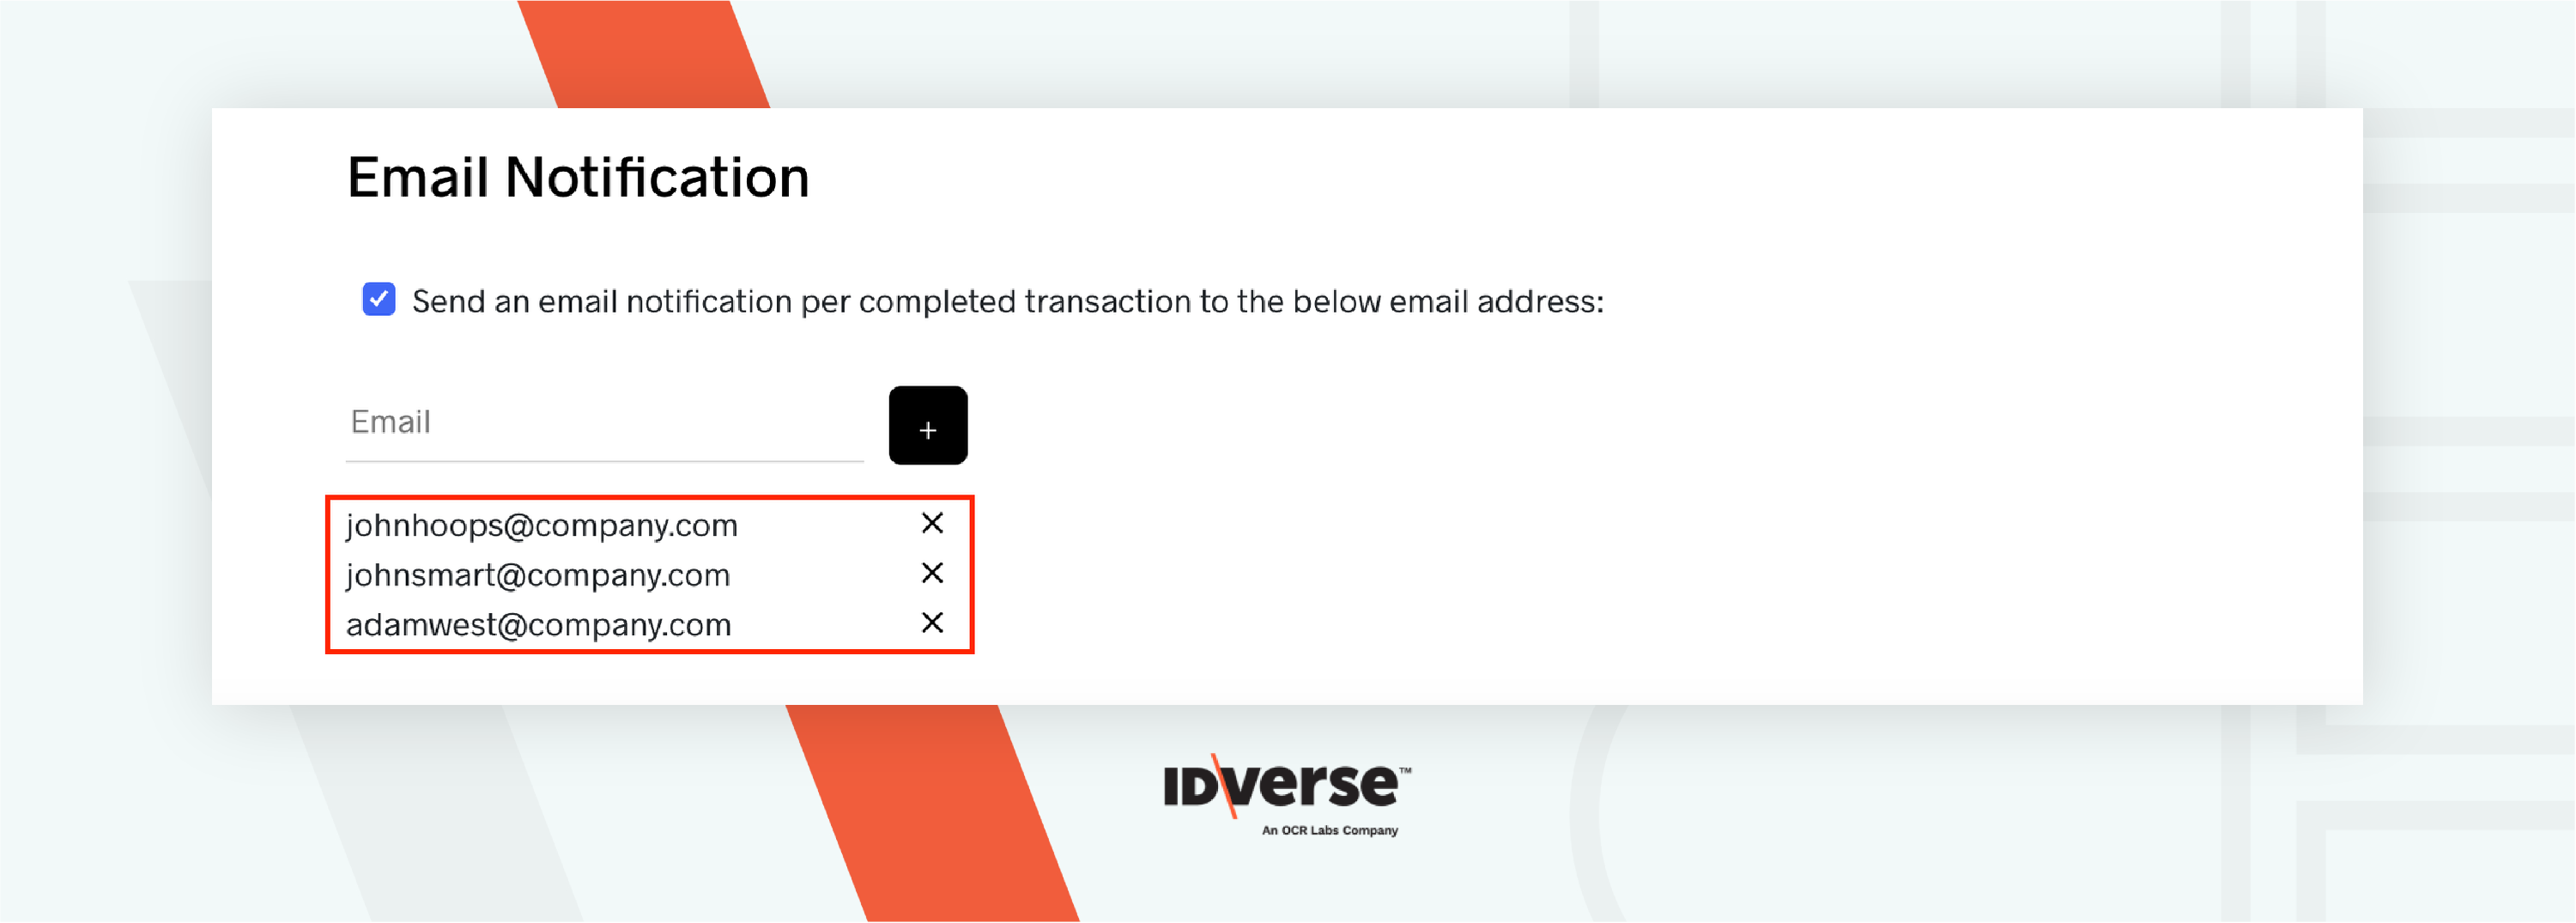
You may add multiple emails to the list by following steps 3 and 4.
Recommendation:
Add only necessary emails. Avoid using this functionality as a broadcasting tool.
-
Remove email notifications by clicking on the 'x' icon next to the email you want to exclude.
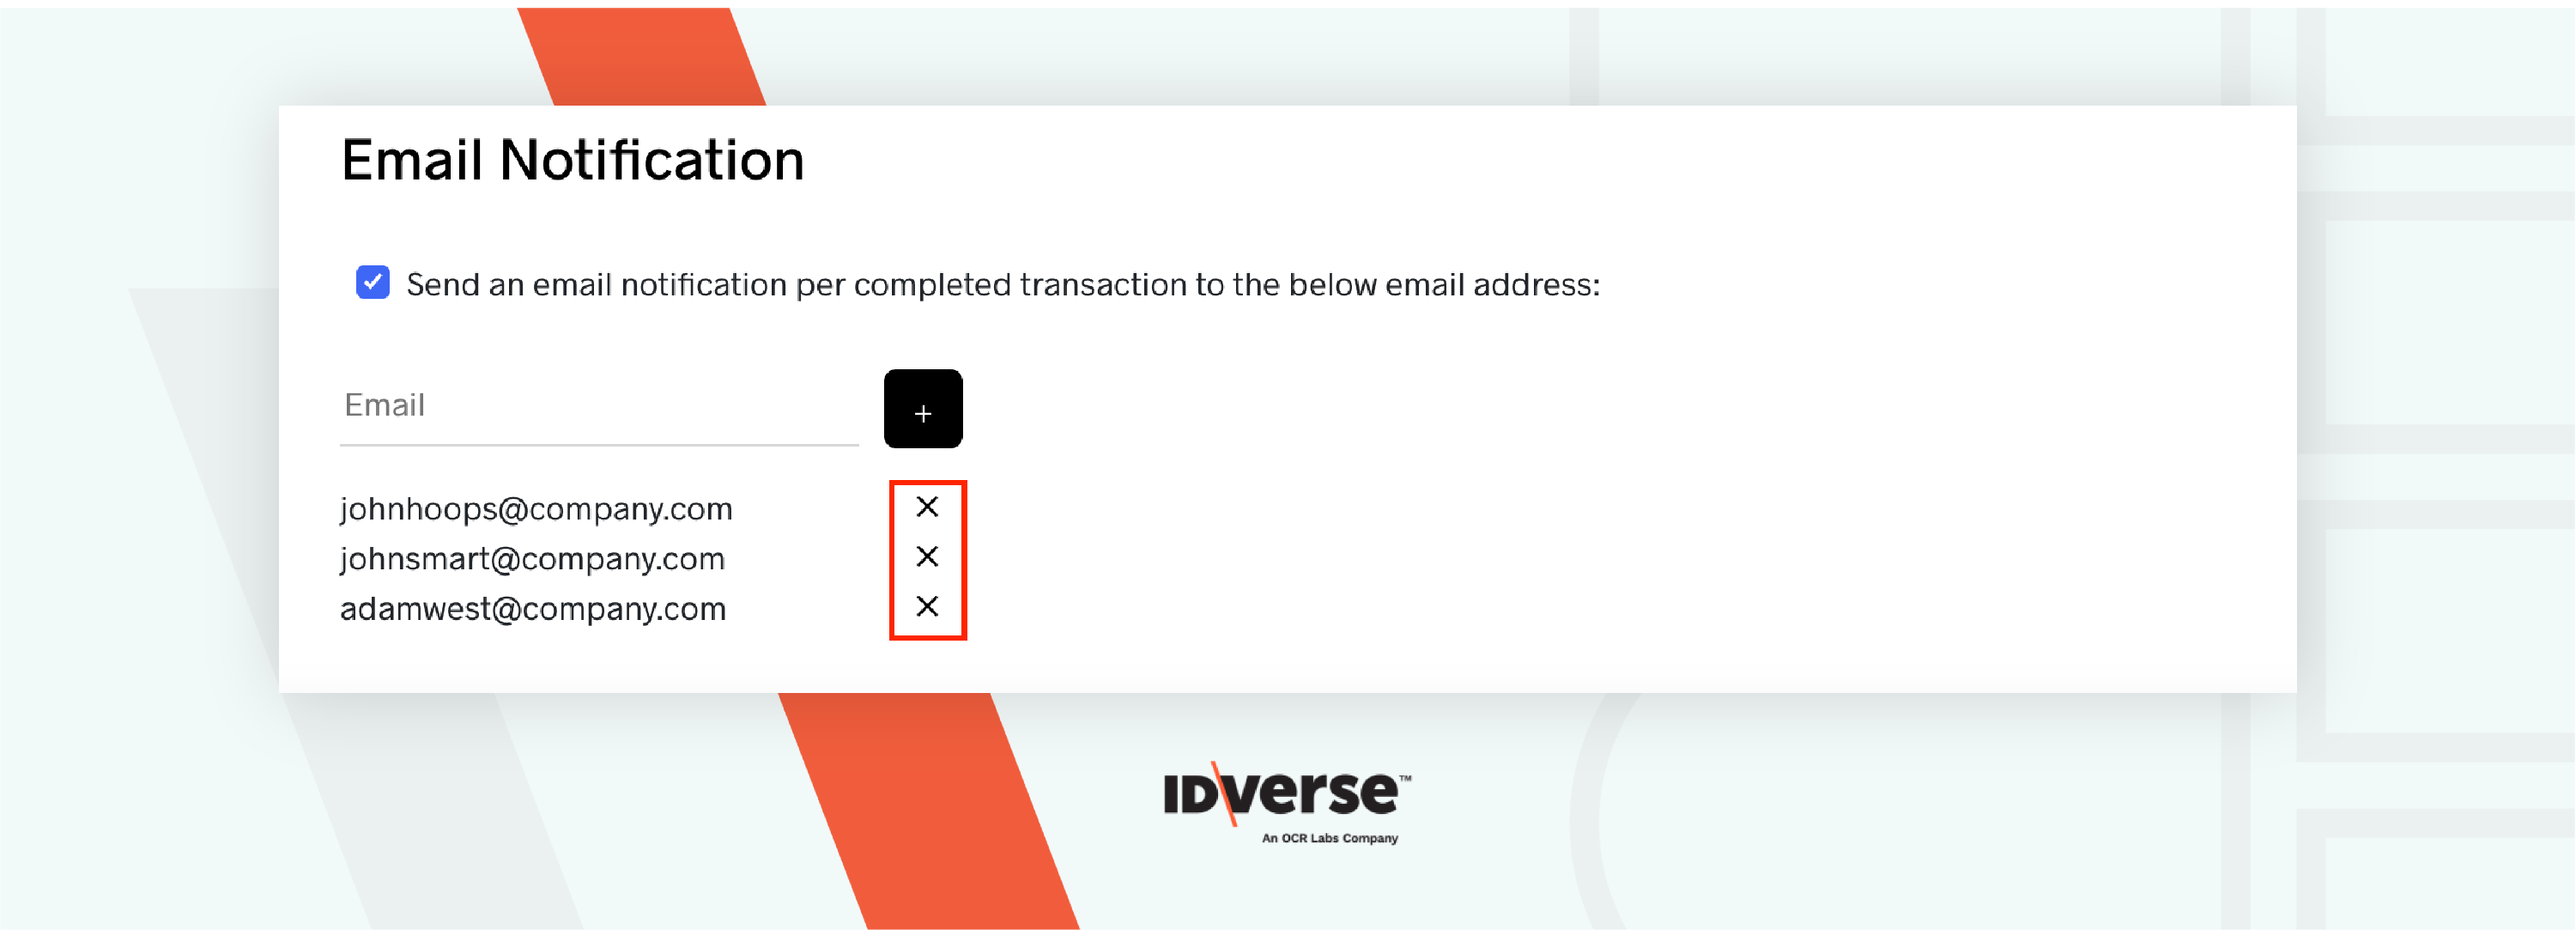
-
To stop notifications, uncheck 'Send an email notification per completed transaction to the below email address.' No need to remove and re-add emails.
💬 We Are Here to Help!
If you encounter an issue, a bug, or require assistance, please contact our support page here to find the solution. Don't forget to provide any important information on the issue.
Updated 15 days ago