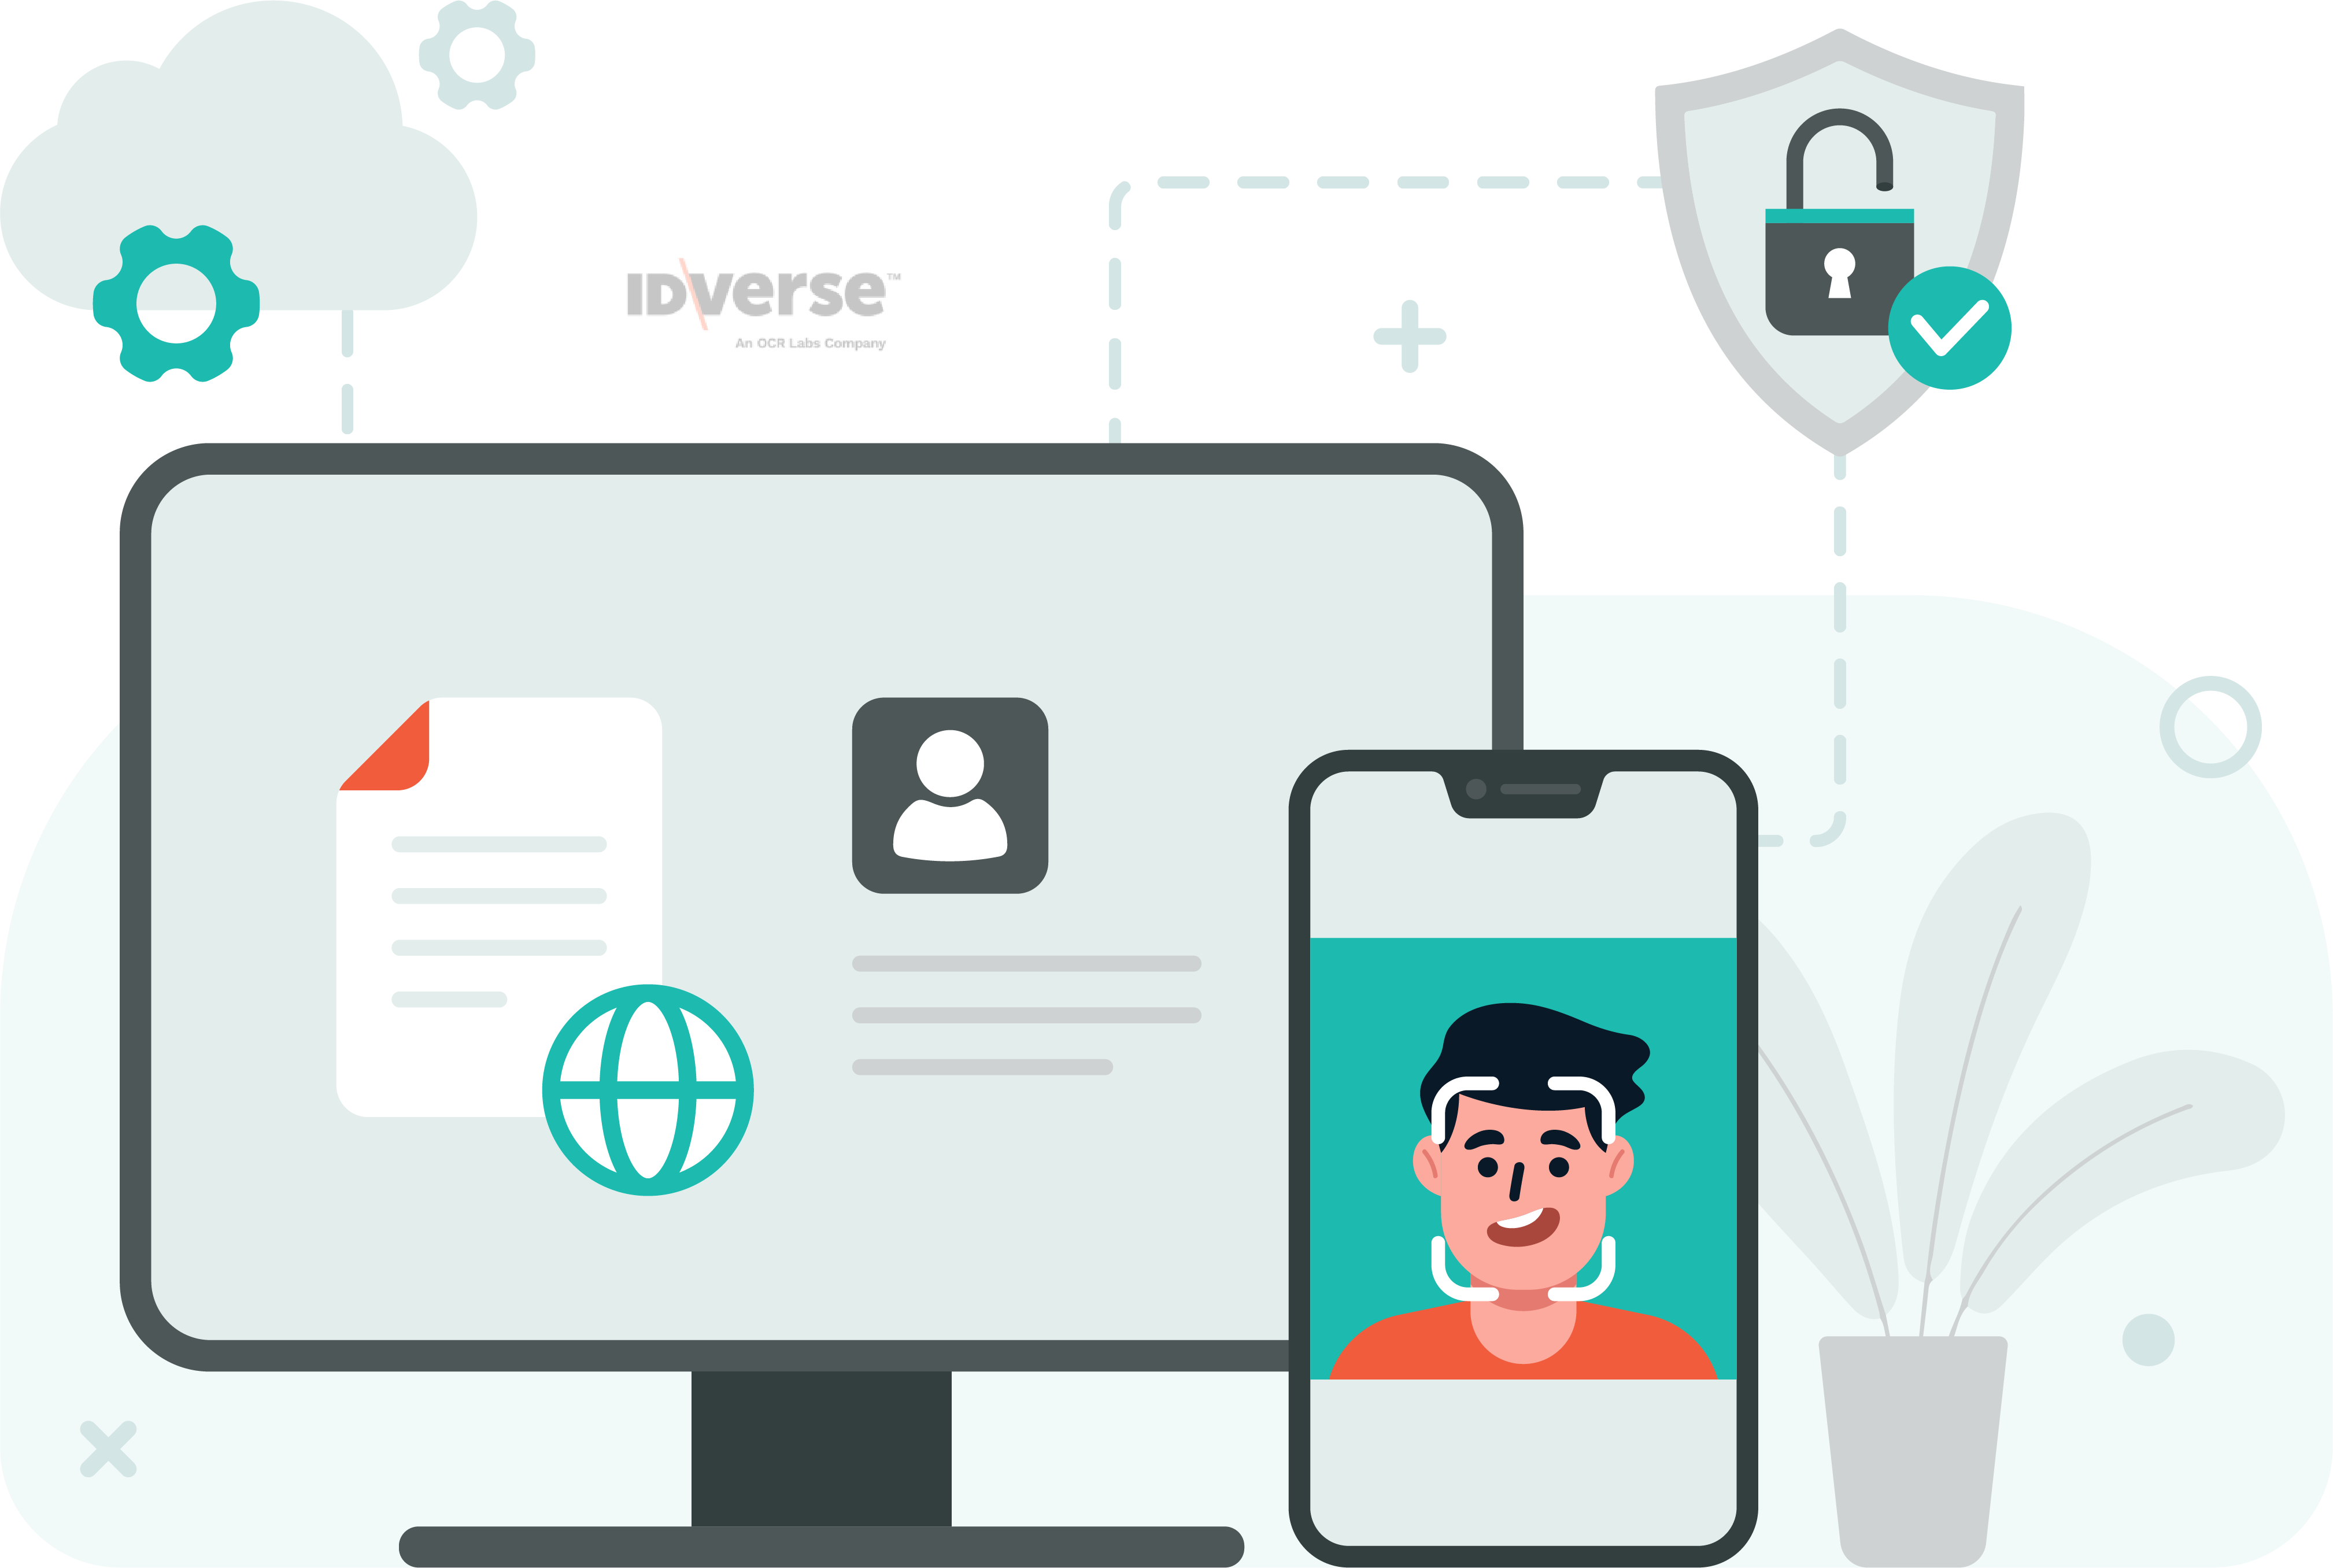
IDKit Verification Process
💡 Quick, user-friendly and conversion-optimised.
Let's see how the IDKit verification process works.

Creation of an ID Verification Transaction:
- An ID verification transaction gets created via the IDKit portal administration or the IDKit API.
- The user can access the transaction via a web-based URL on a mobile device.
Info:
The URL could be sent via an SMS, made accessible via a QR code, or embedded into a website or a mobile app.
User Journey of the Web-Based Mobile Flow:
- Review the privacy policy and give consent.
- Capture the identity document(s) (i.e., ID card, Driver's Licence, Passport, Proof of Age card).
- Review the extracted personal information from the captured ID.
- Capture a selfie video.
IDKit Verification Steps in the Background:
- The photo of the ID document gets analysed by the document fraud engine to check that the document is genuine, has not been tampered with, and can be trusted.
- OCR Engine extracts the user information from the ID document and compares it with a trusted ID document.
- The information on the ID document gets validated with third-party databases, such as the Australian Government's "DVS" service, to confirm that the identity on the document exists with the state registration bodies.
- The Liveness engine analyses and processes the selfie video, confirming that a live person is being presented in the application process.
- The Face-matching engine checks that the person is the same as the person shown on the ID document.
💬 We Are Here to Help!
If you encounter an issue, bug or require assistance, please contact our support page here to find the solution. Don't forget to provide any important information on the issue.
Updated 15 days ago
