
Data Retention Settings
👨🏻💻 Set up your data retention settings as per your data compliance policy.
Data retention settings define how long your user data, containing personally identifiable information (PII), gets retained across your IDKit account, including the repository, databases, etc.
Note:
Transactions can be redacted individually or in multiples using the API, as detailed in the Redact API documentation.
Select the retention rule that suits your policy needs the best, following these simple steps mentioned below.
Info:
As per General Data Protection Regulation (GDPR): Personal data should be kept in a form which permits the identification of data subjects for no longer than is necessary for the purposes for which the personal data is processed.
Updated Data Retention Settings will take effect from the time they get saved, for all future transactions.
- Go to the Settings module from the portal.

- You should see the Account Profile tab selected in the top-left corner. Here you can view and edit your Basic Information.
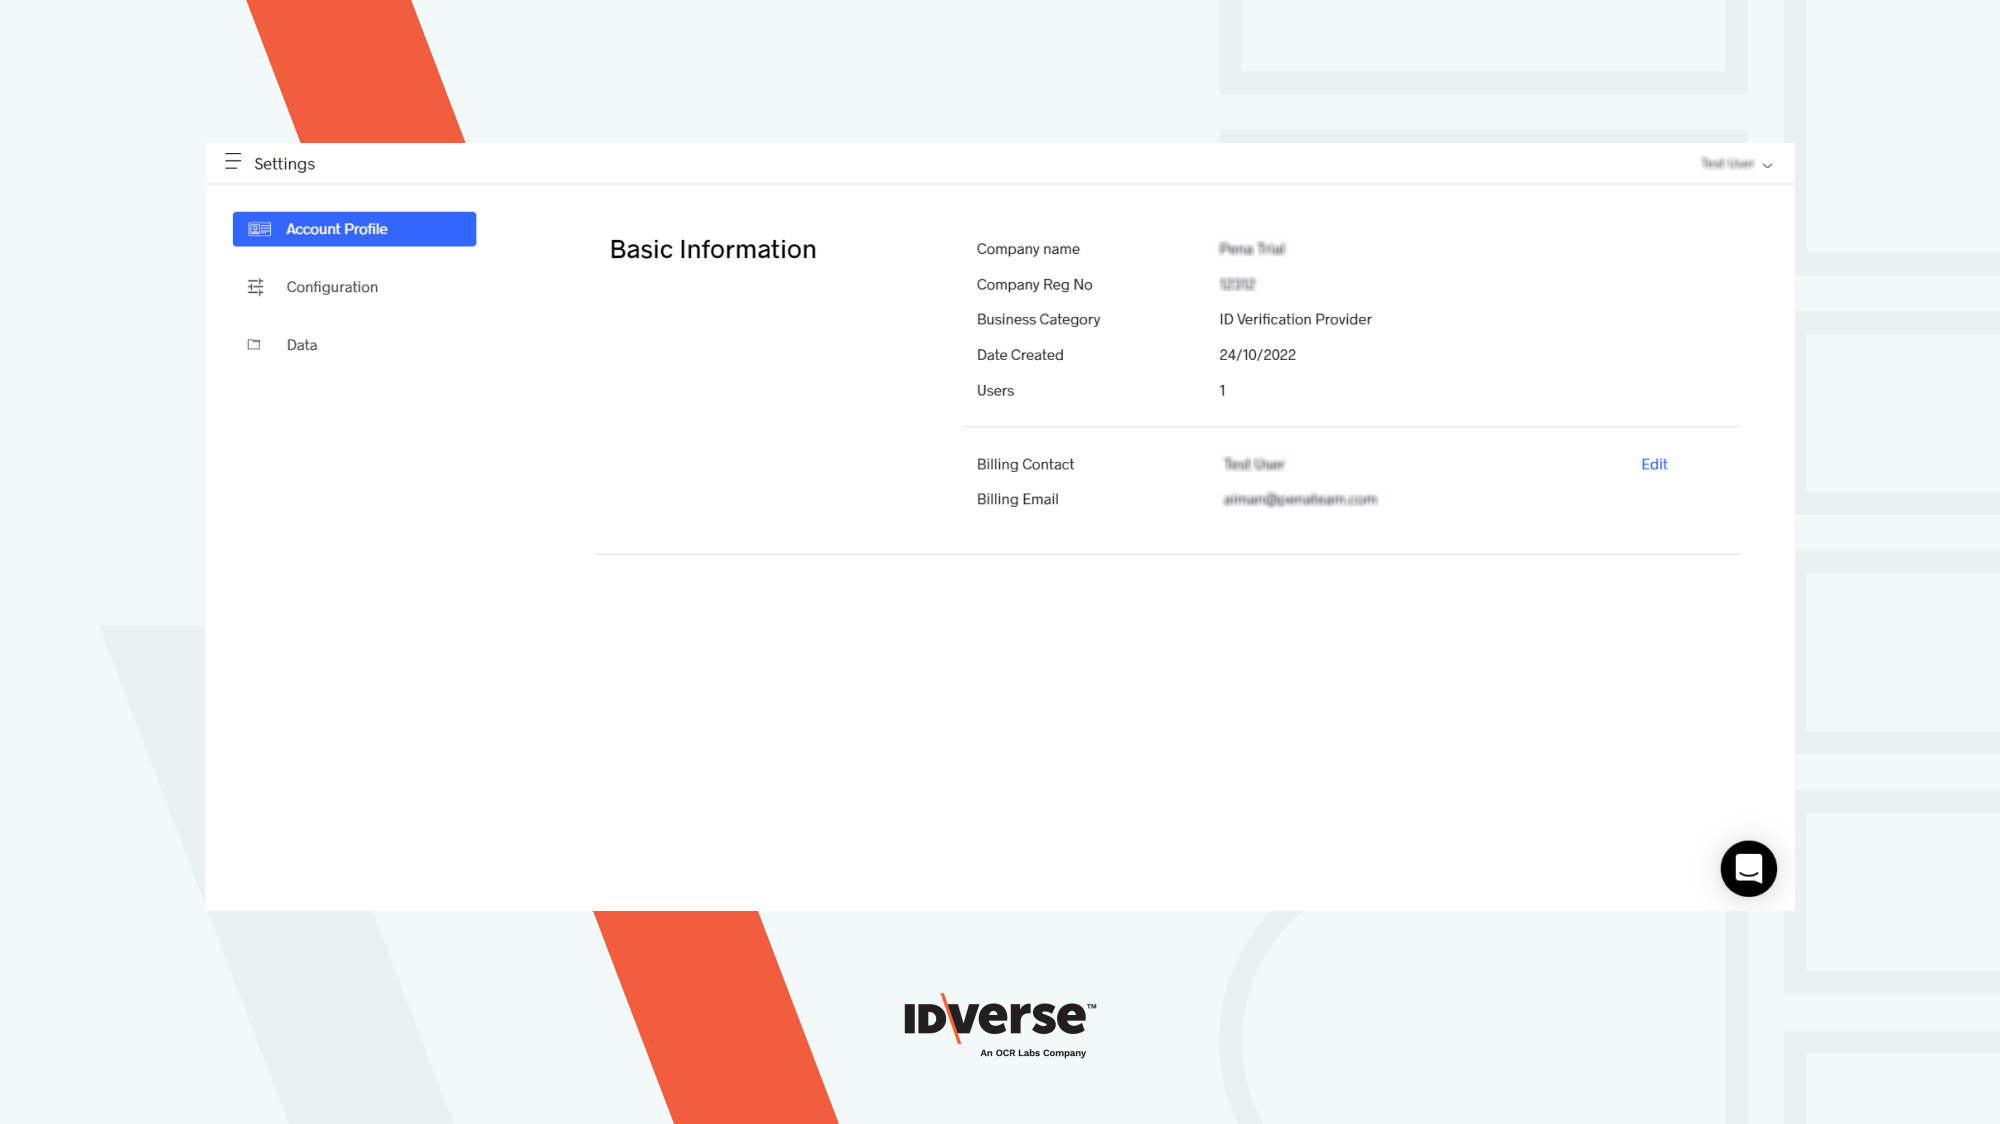
- Switch to the Data tab by clicking on it. Here you can set up your data retention rules as needed.
Beware! Any changes made will take effect immediately after saving them and redacted data can’t be recovered.

- If you want to change your retention rule click on Edit.

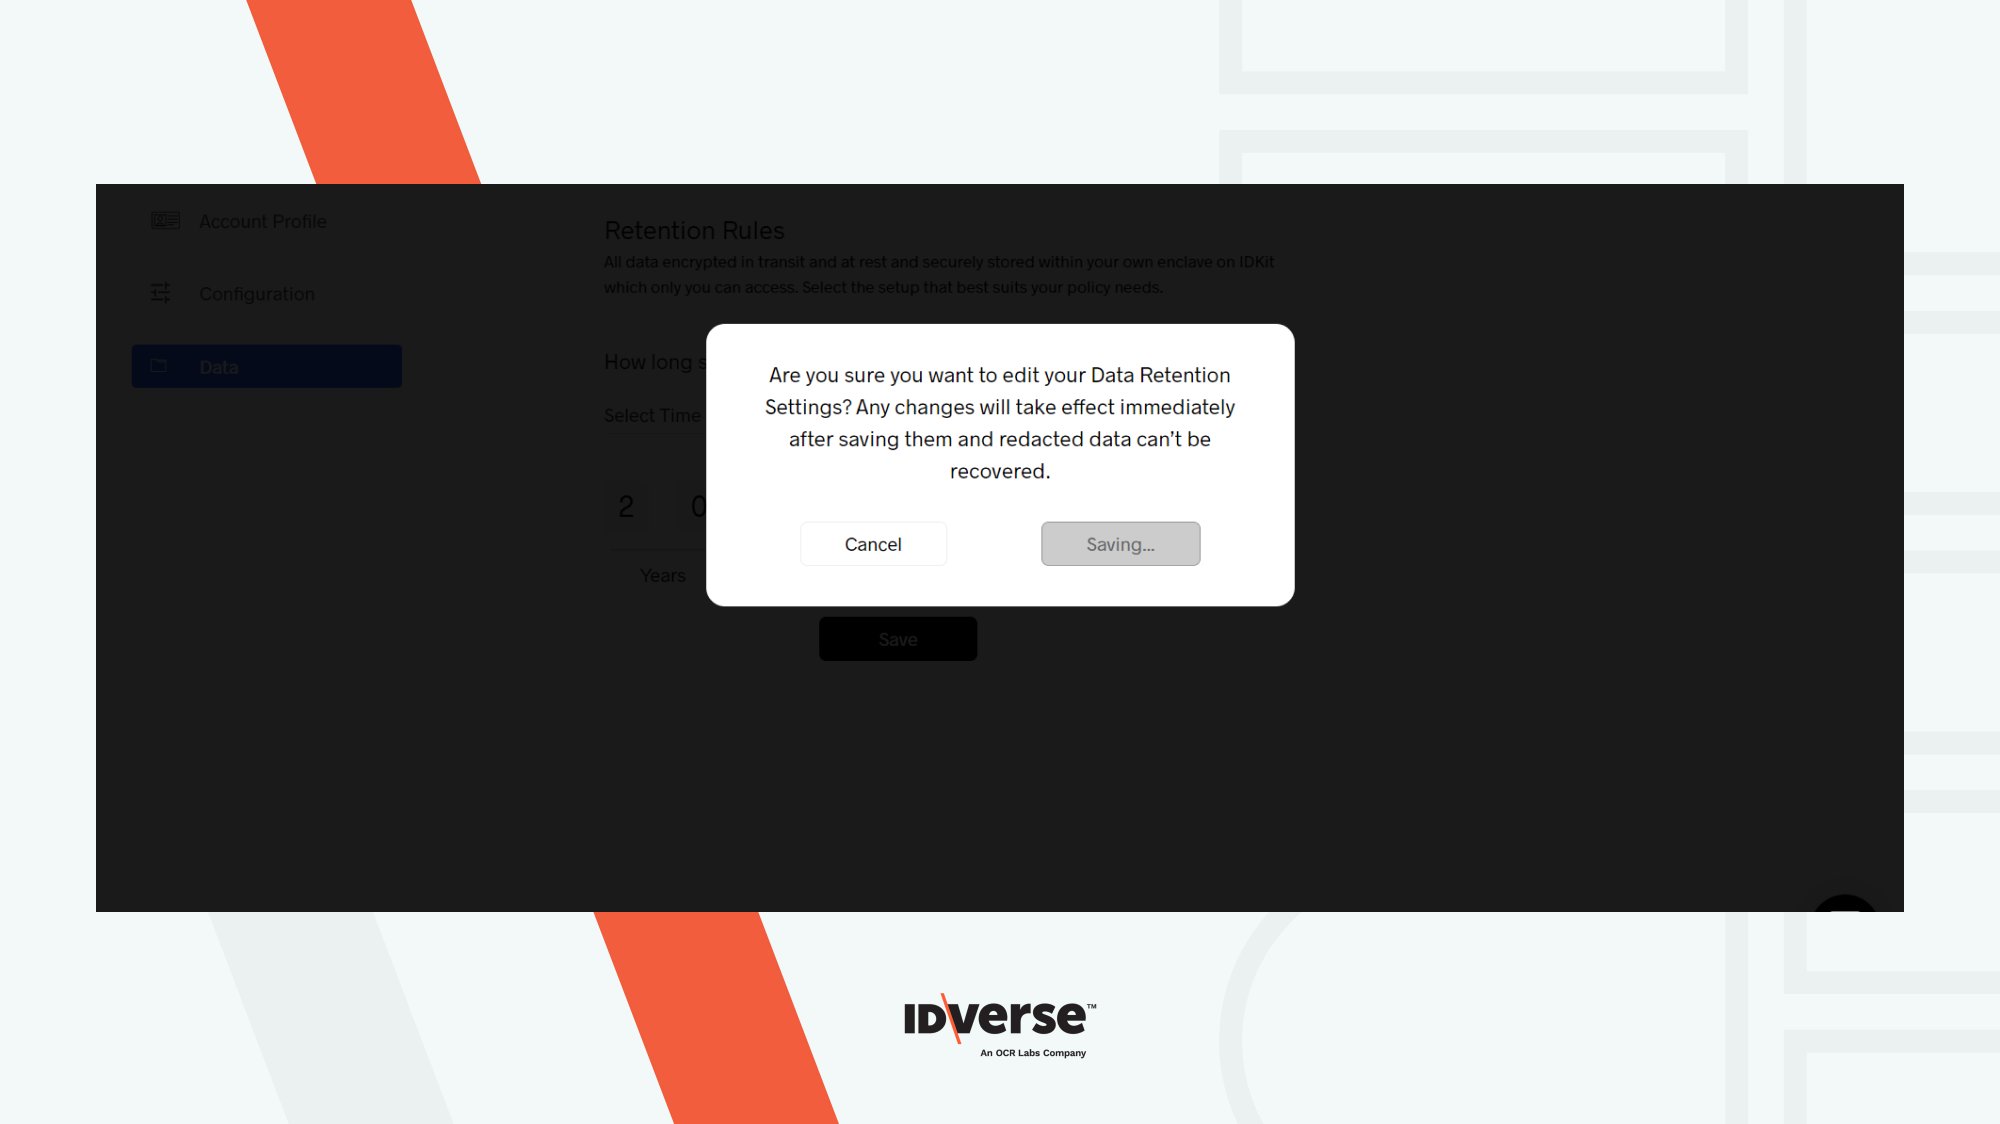
- It will prompt you to confirm whether you are sure about making changes to your data retention rules or not > Click Confirm if you want to proceed.

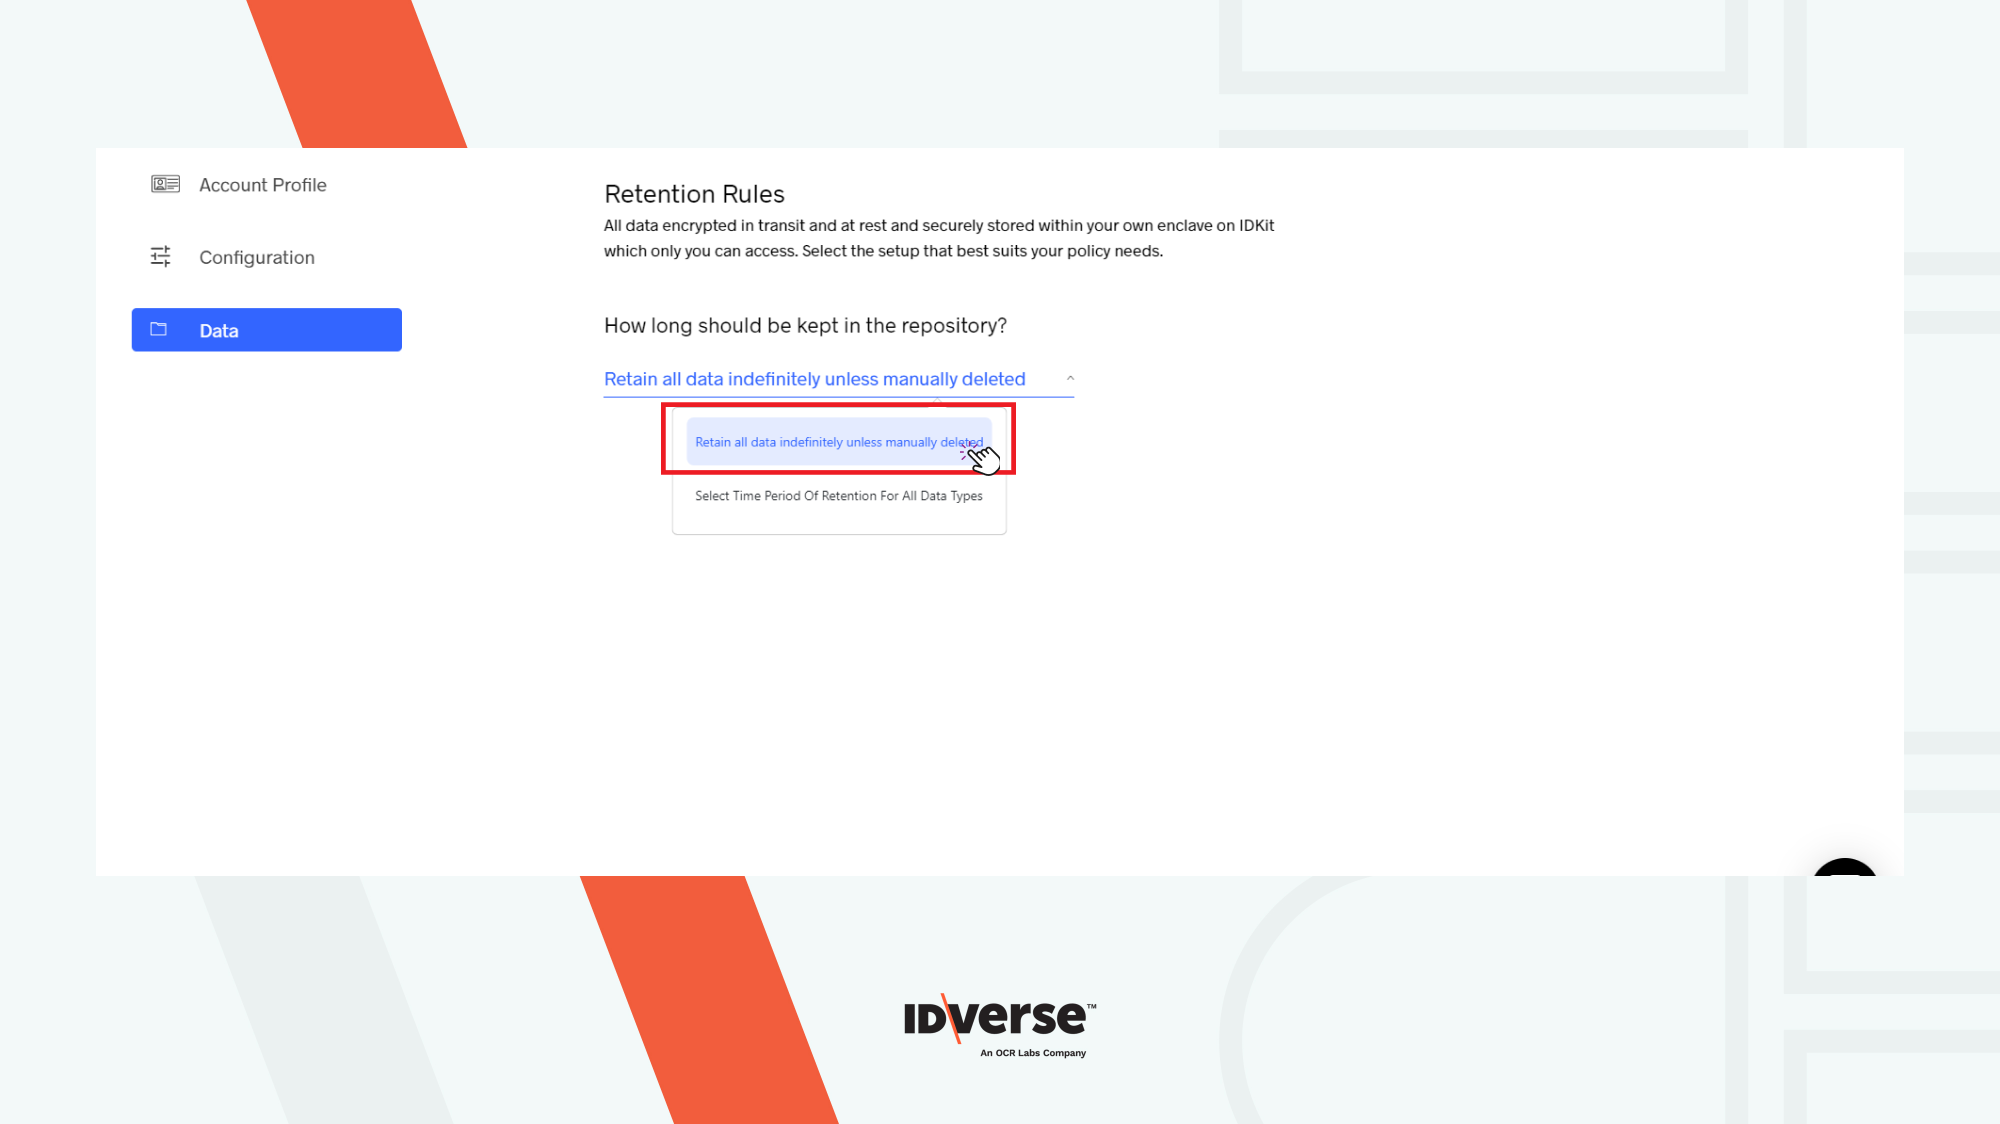
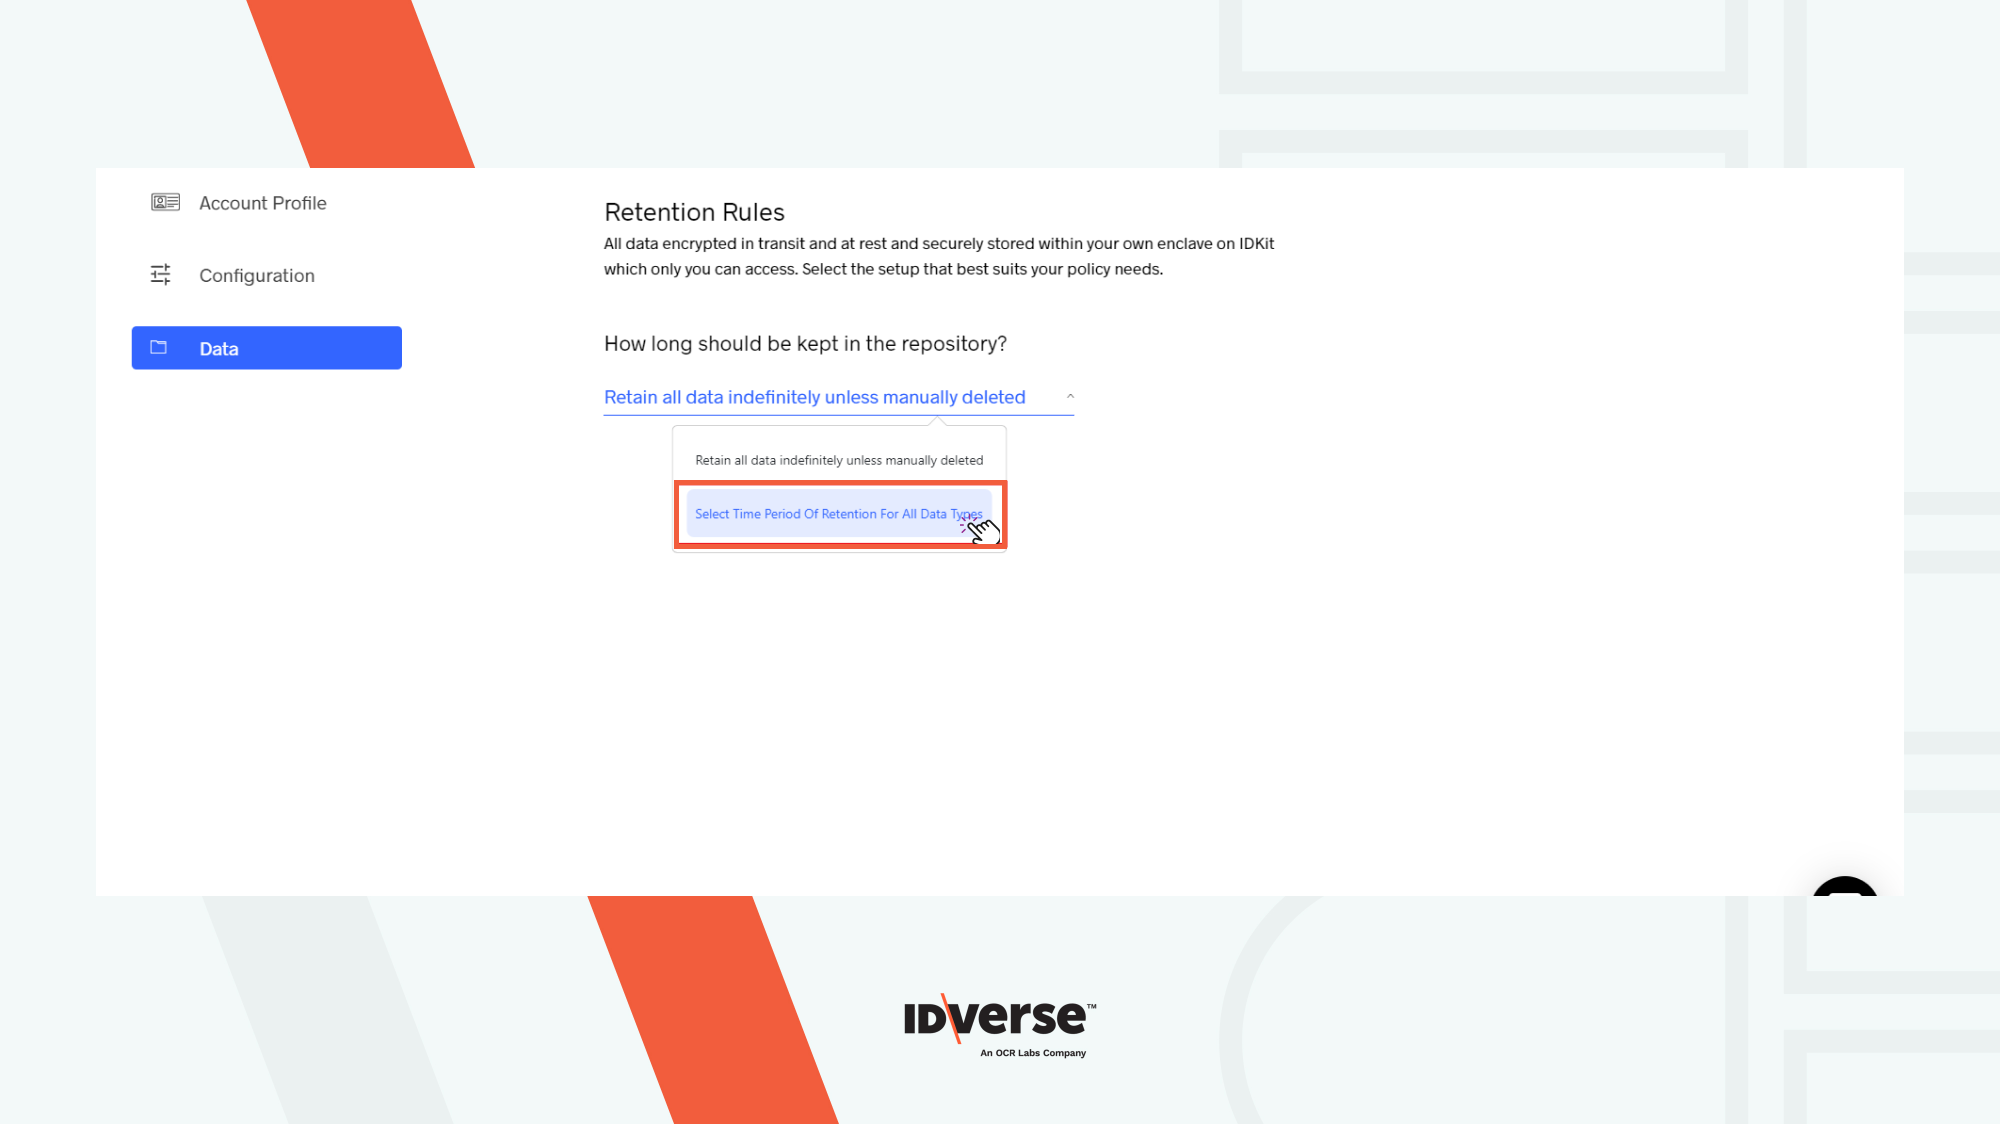
- Two types of data retention rules will be displayed for you to choose from:
- Retain all data indefinitely unless manually deleted
- Select Time Period Of Retention For All Data Types

Retain All Data Indefinitely
If you want to store your data in the repository for an indefinite amount of time unless manually deleted you need to follow these steps:
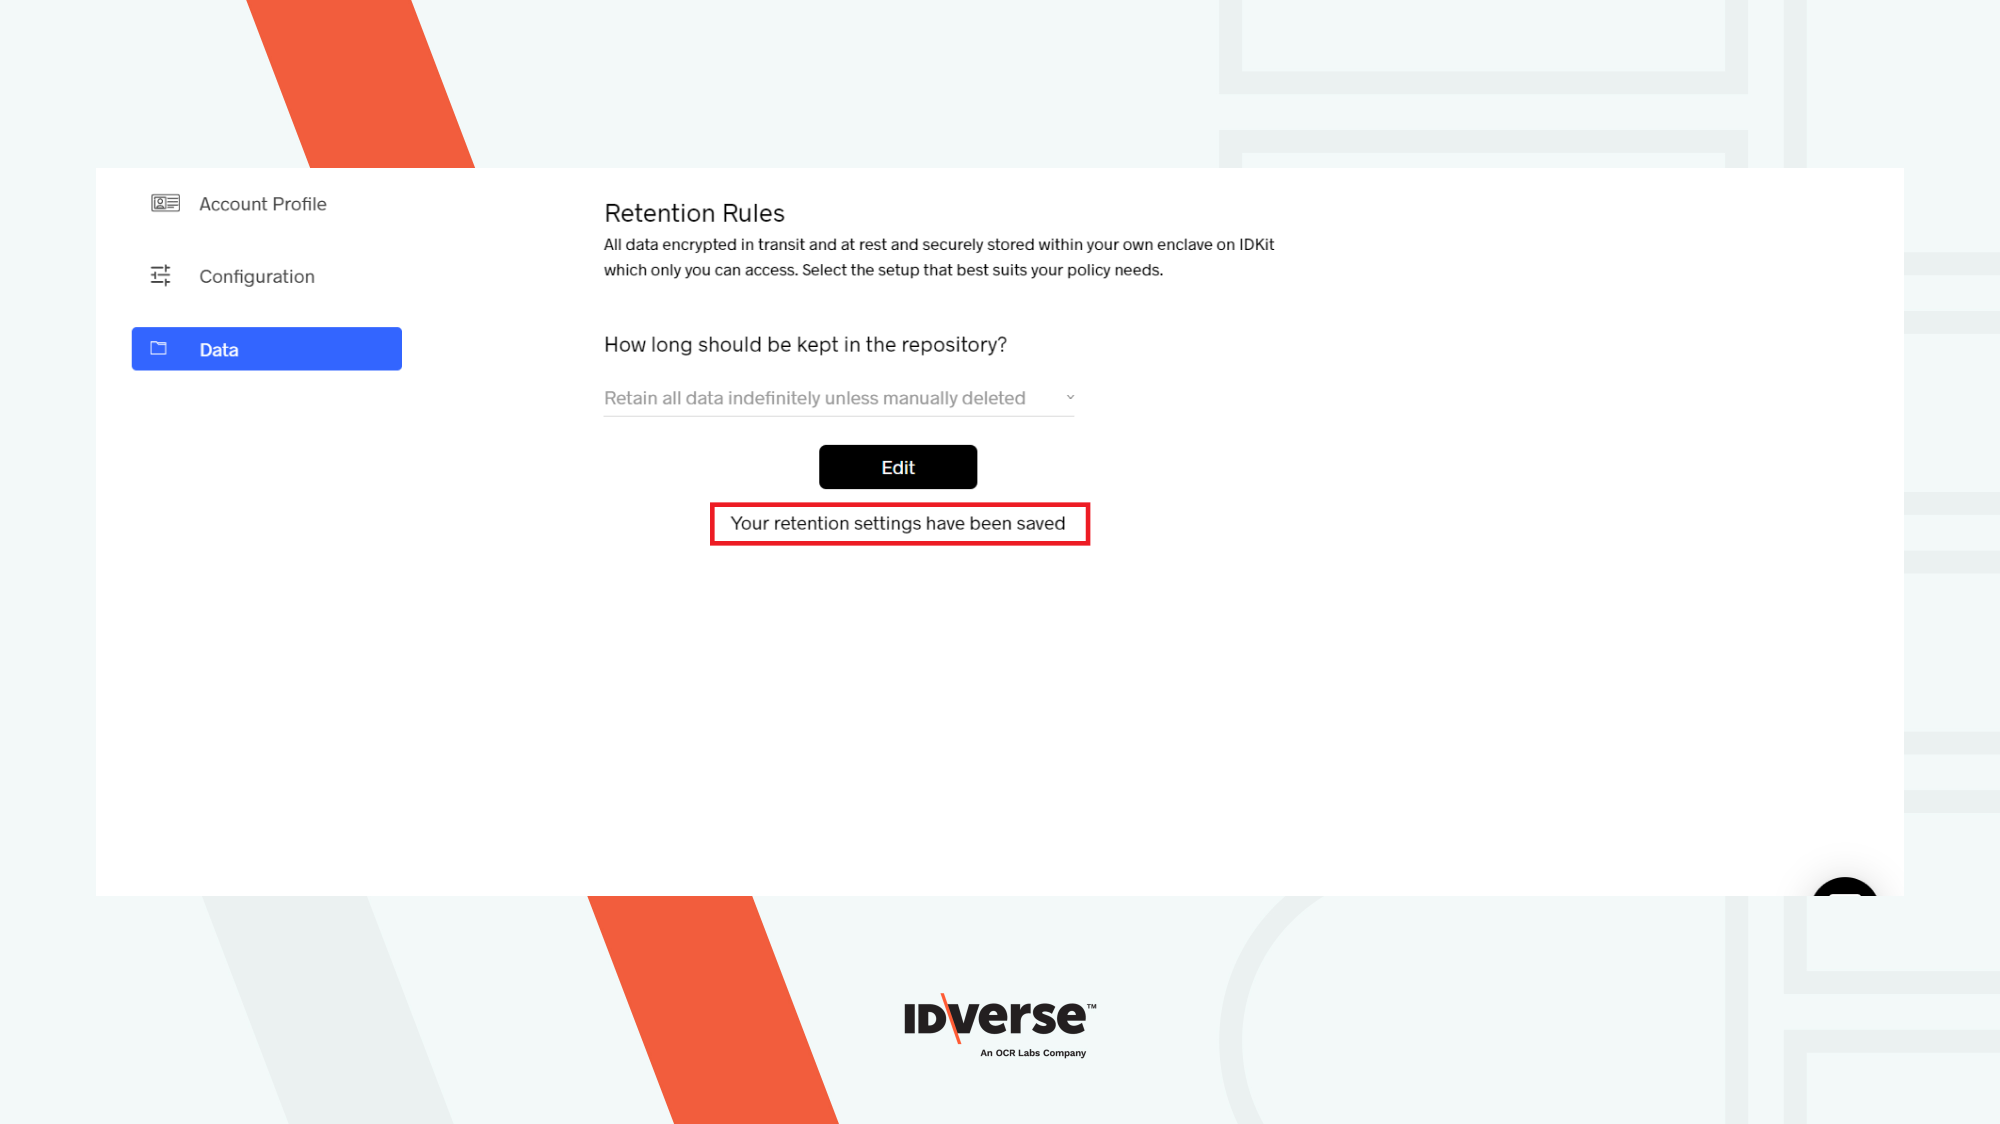
- Select Retain all data indefinitely unless manually deleted from the drop-down menu.
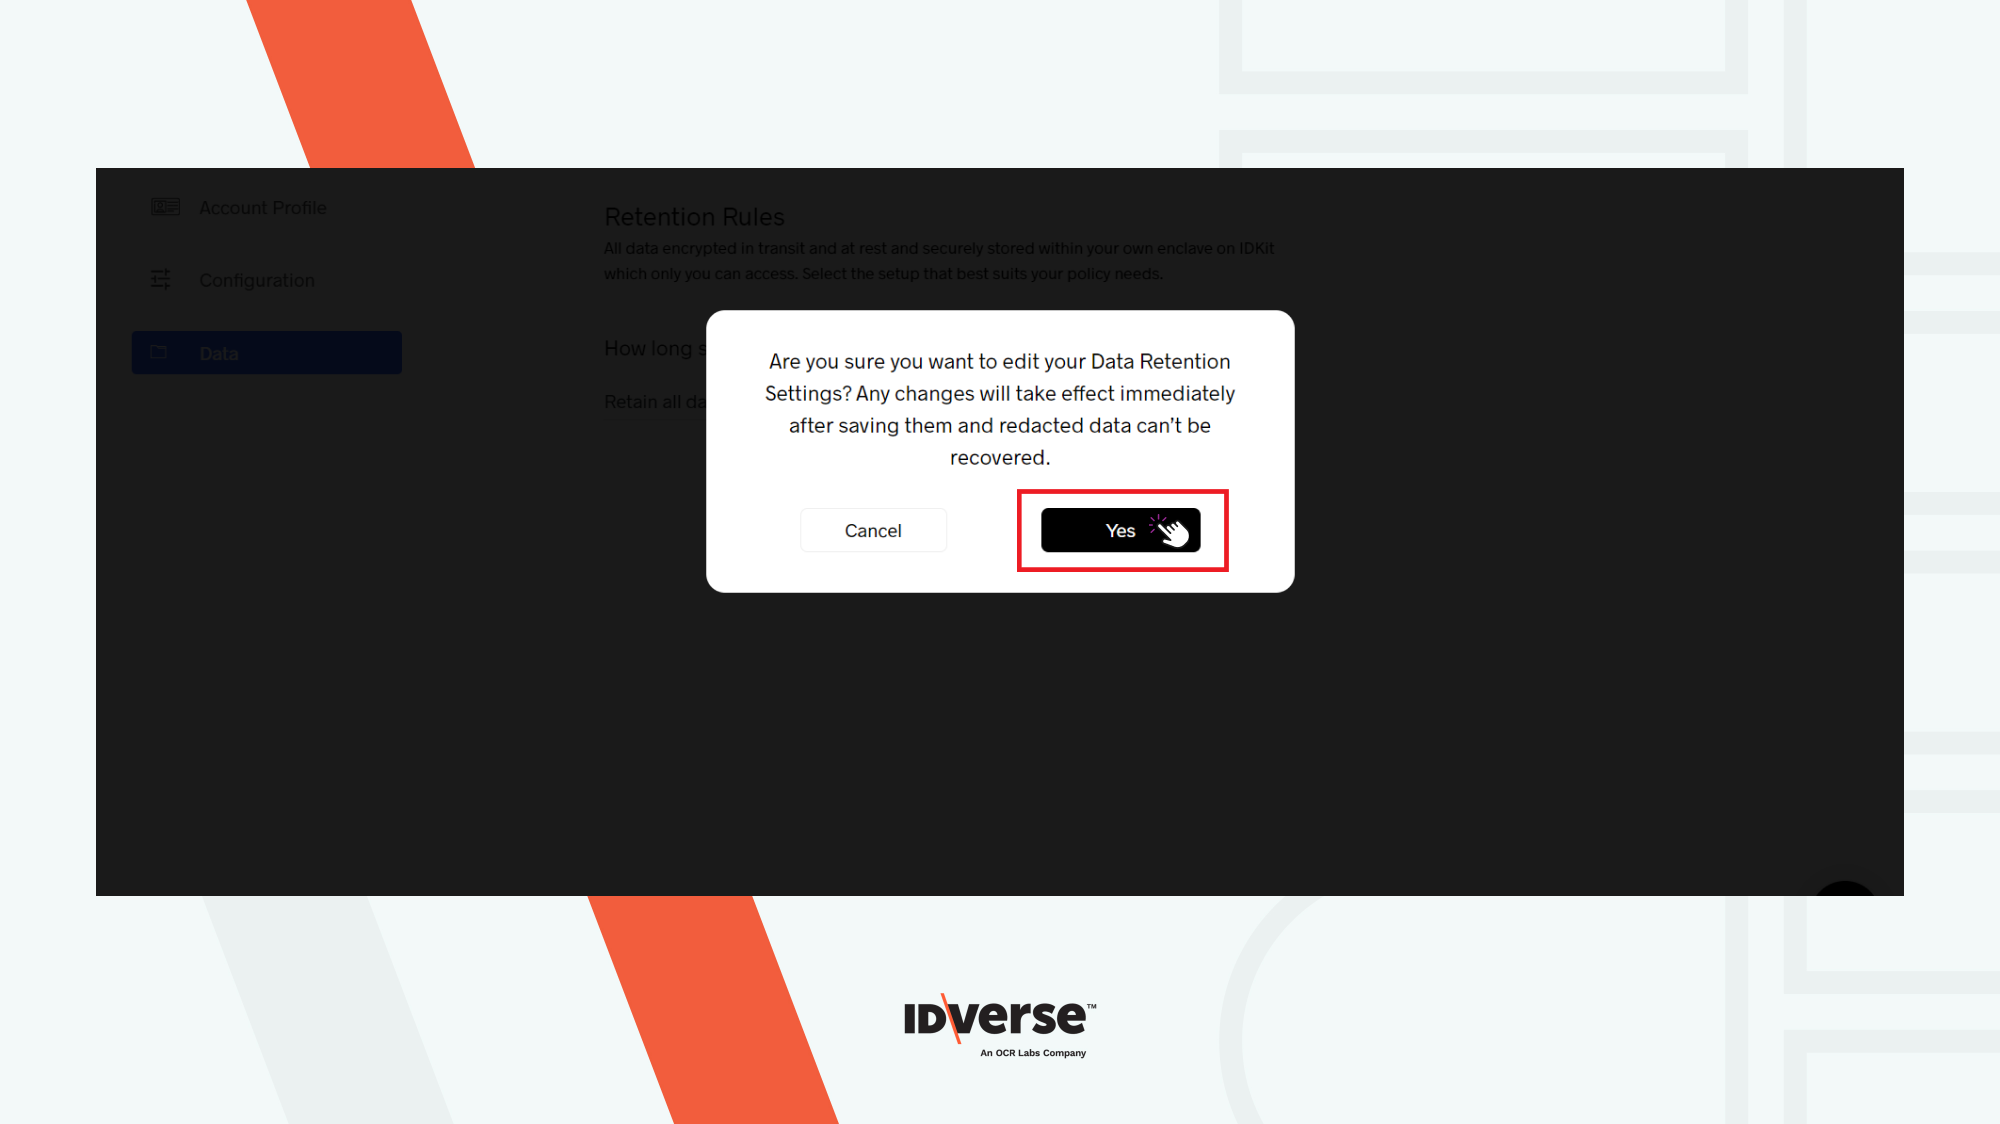
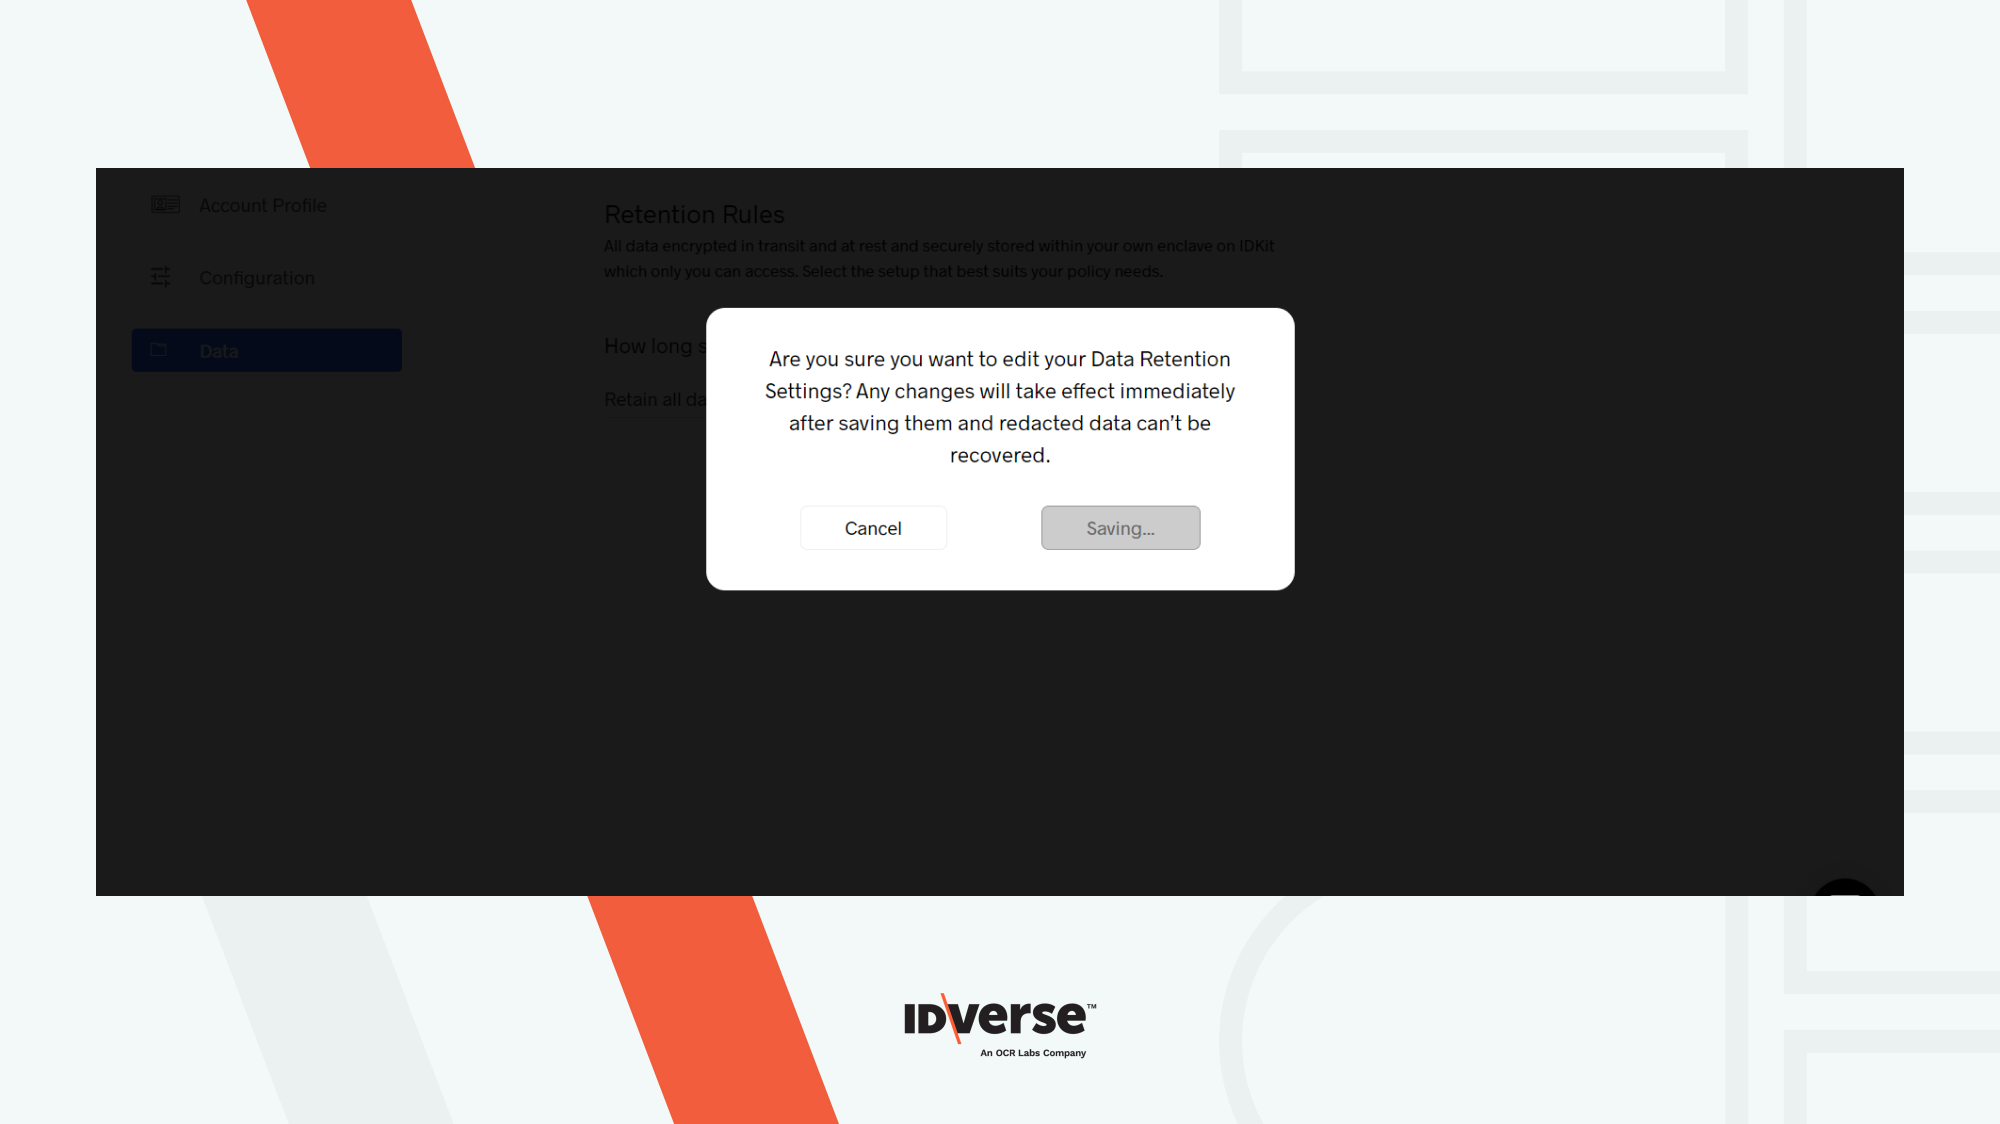
- You will be prompted to confirm whether you are sure about changing your data retention settings or not > Click Yes to confirm.
- It will save the selected settings as shown in the image below.
- Your data will now be saved for an indefinite amount of time unless deleted manually.
Retain Data for a Specific Time Period
If you want to specify a time period till when you want to retain your data you can do that by following these easy steps:
- From the drop-down menu select Select Time Period Of Retention For All Data Types.
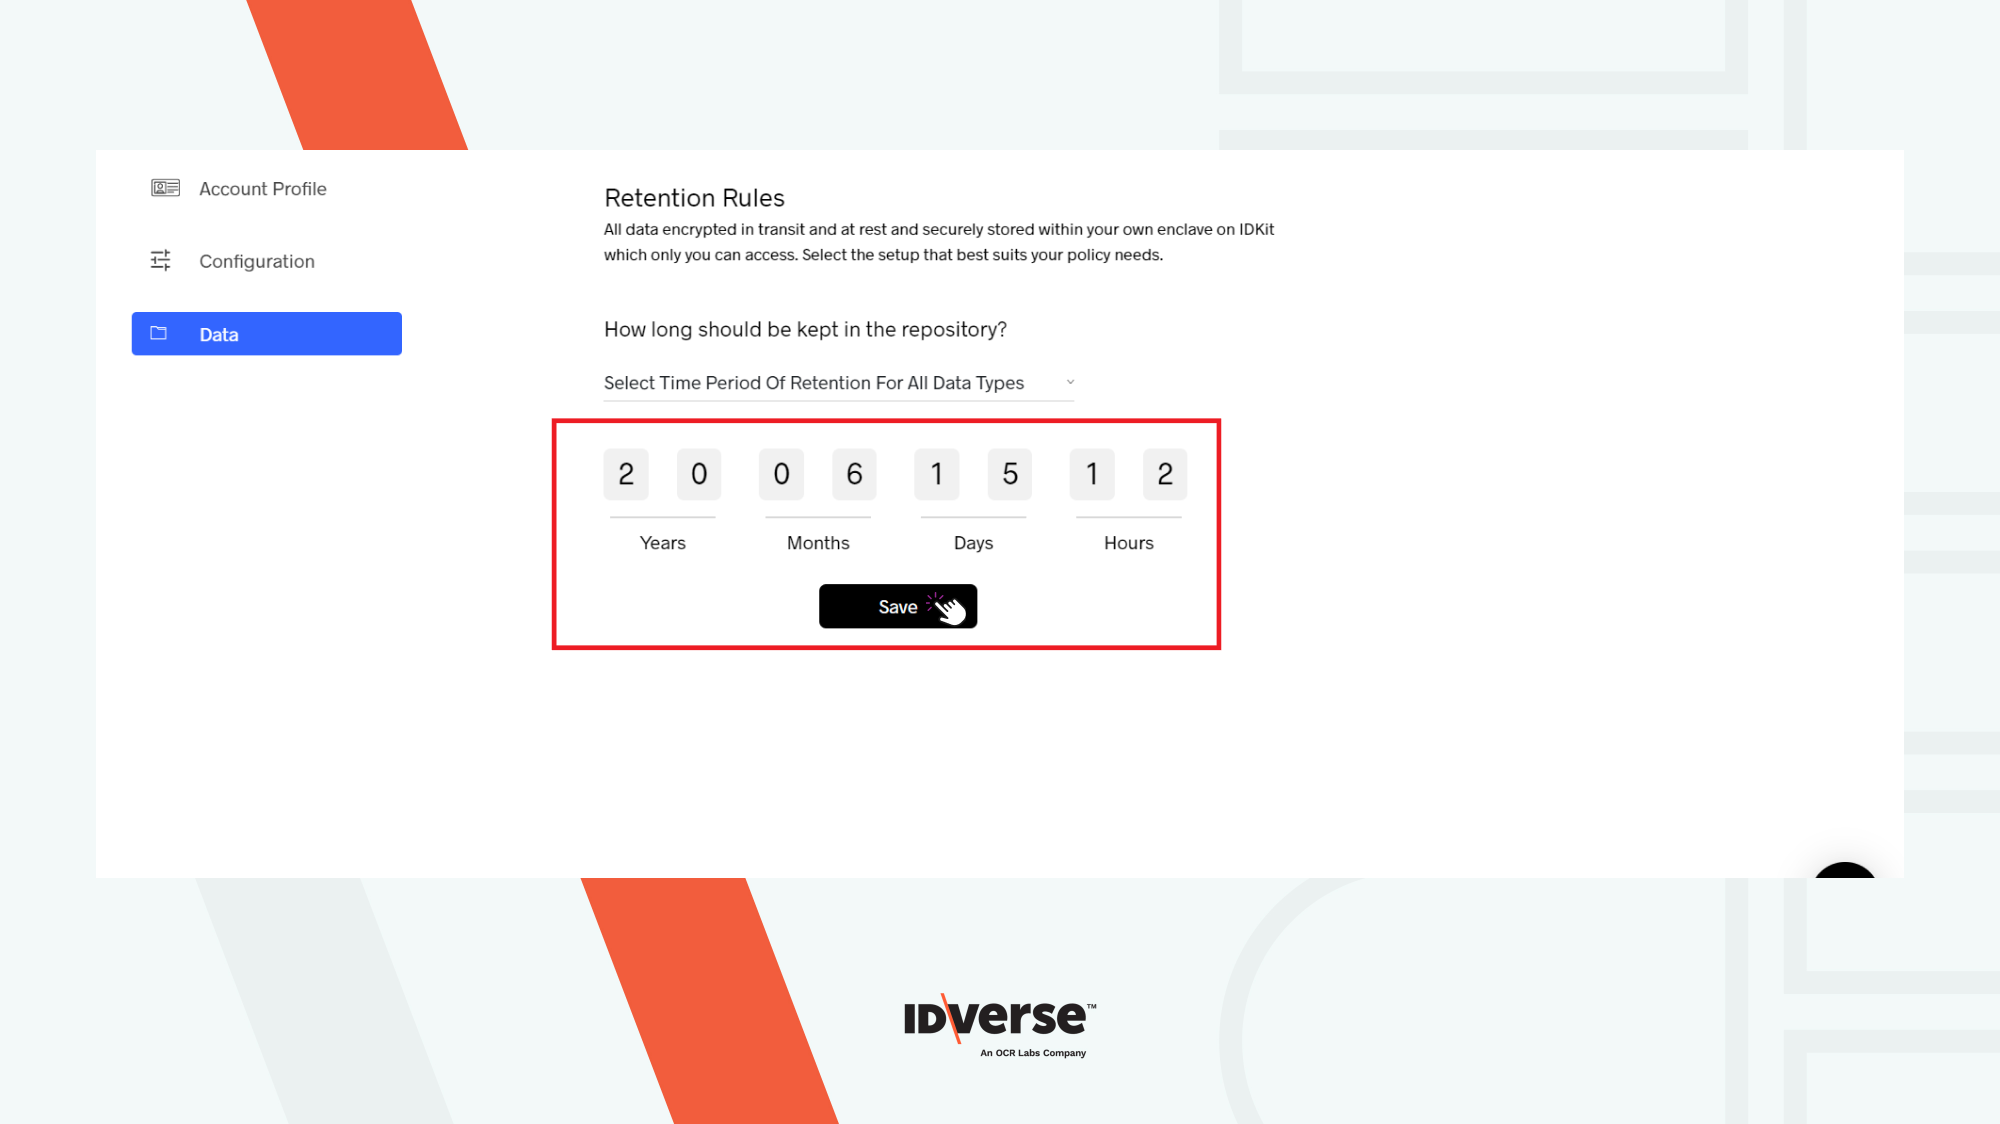
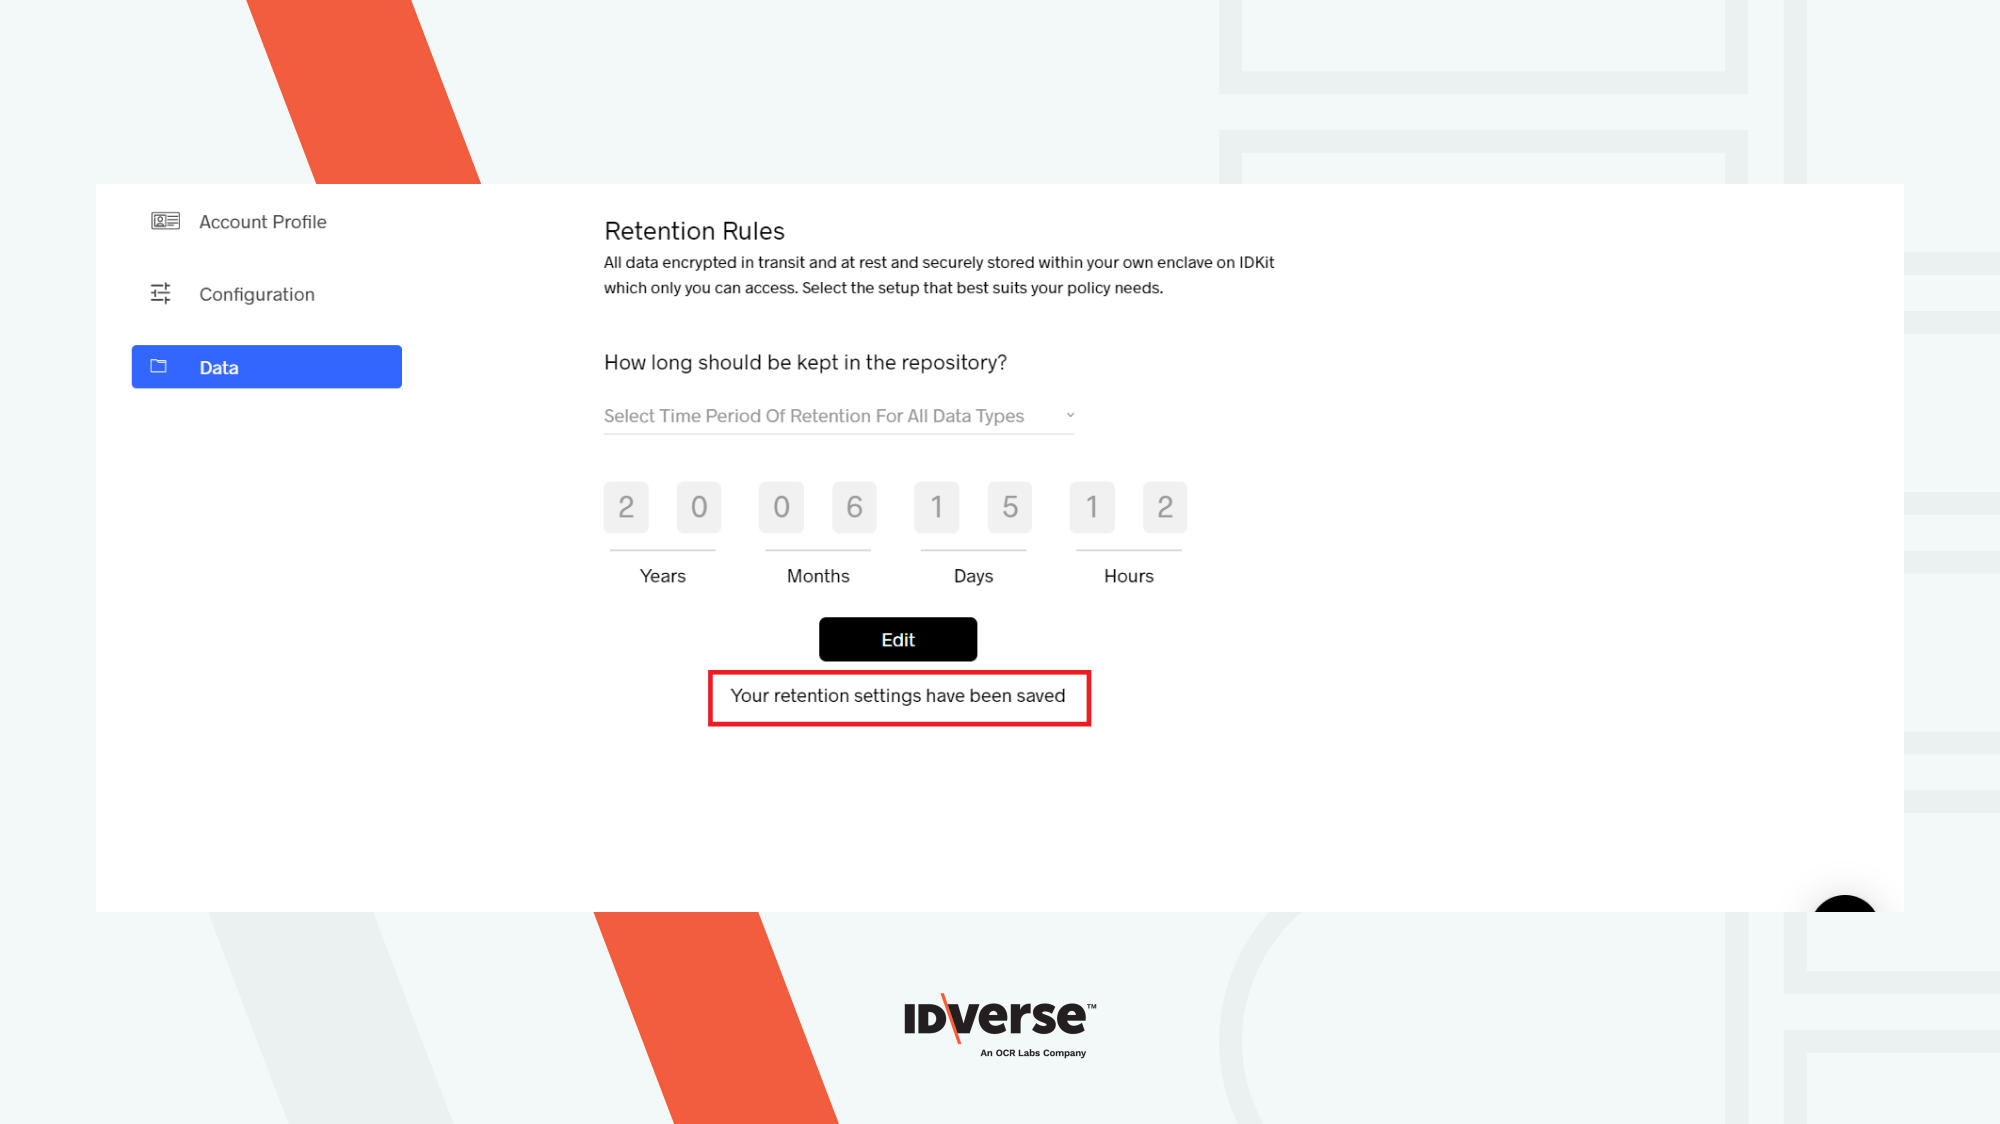
- Here, you now need to specify the time period in years, months, days, and hours. After this time period is over, your data will automatically be deleted. Specify a time period and then click Save.
- You will be prompted to confirm the changes you just made. Select Yes to proceed.
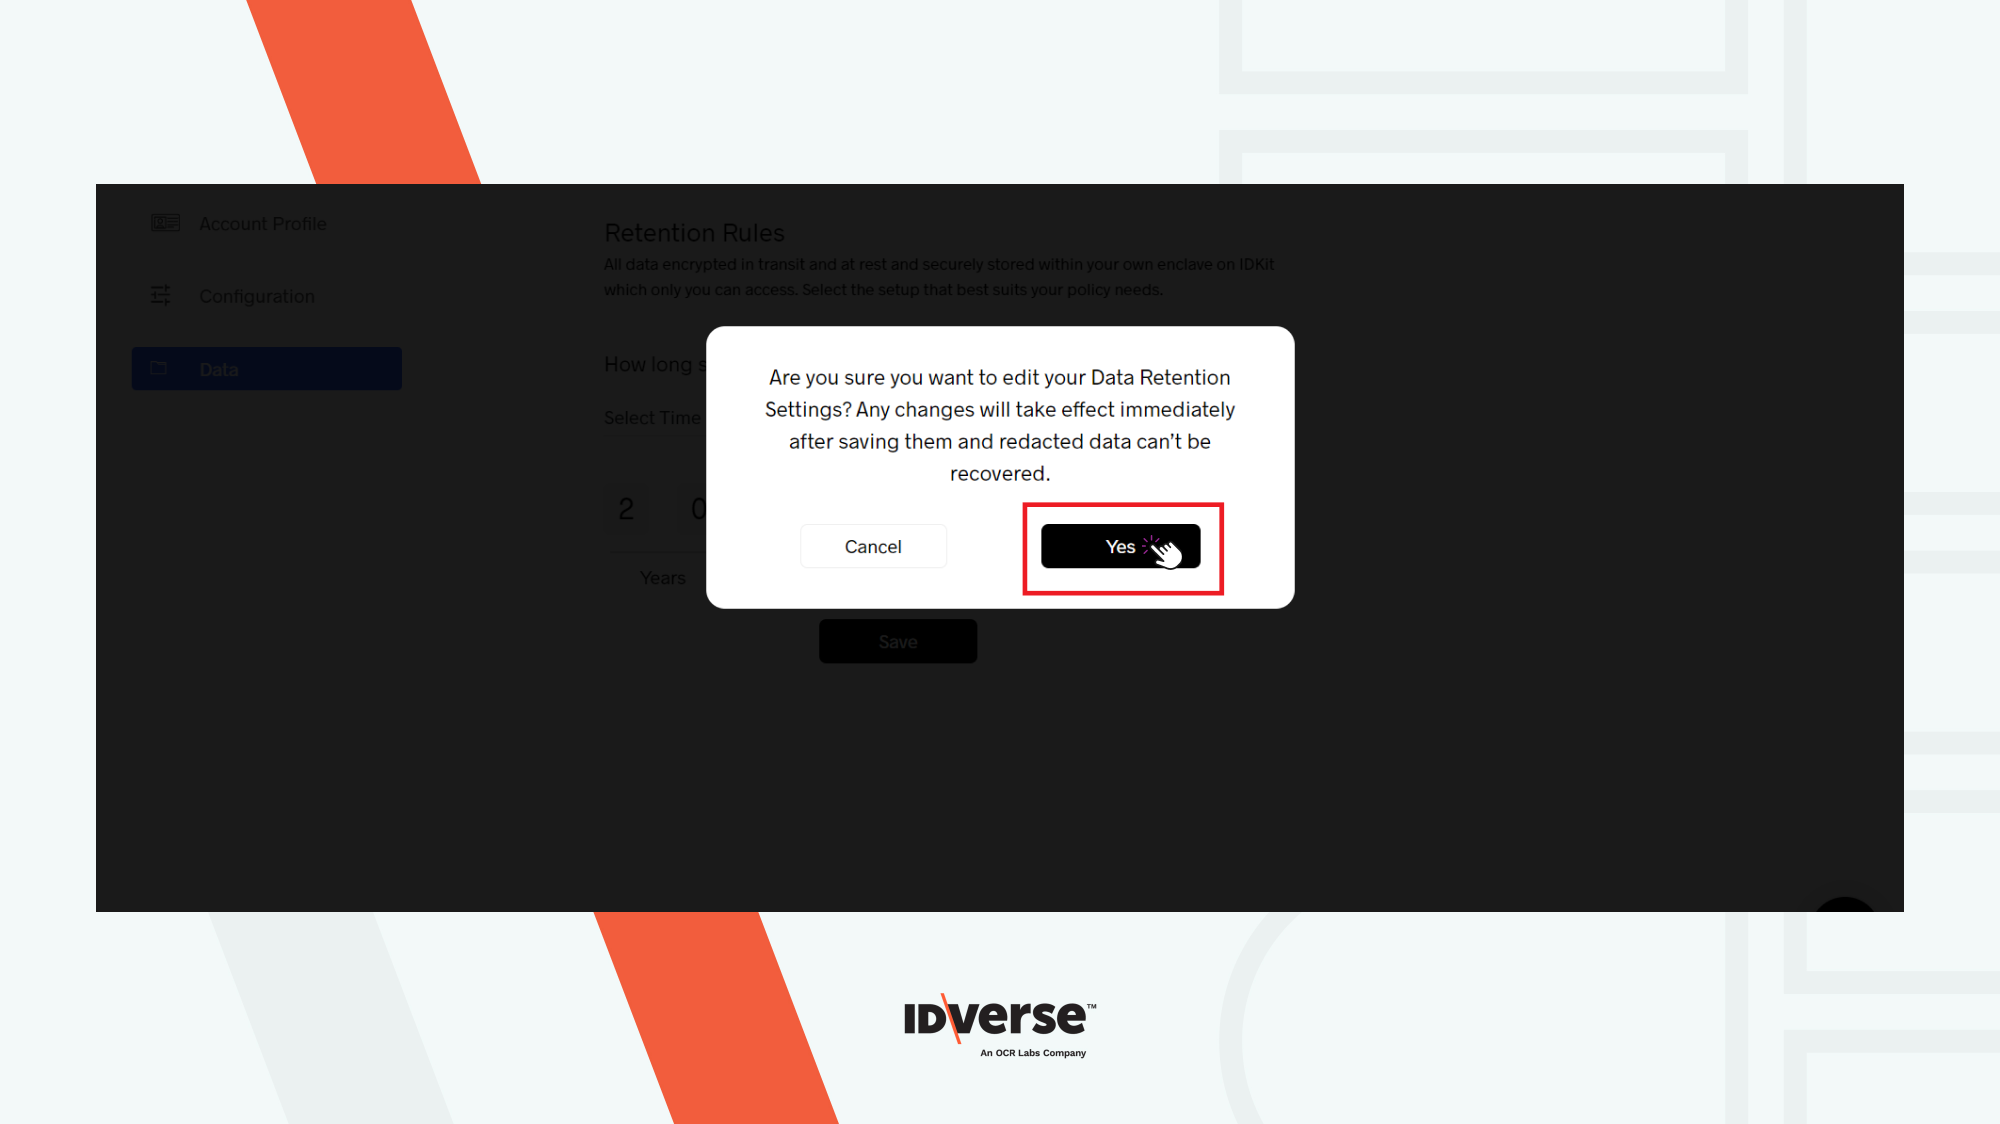
- It will save the selected settings as shown in the image below.
- Your data will now be saved till the time period you just specified.
✅ Congratulation! You now know how to set up your data retention rules and edit as needed.
💬 We Are Here to Help!
If you encounter an issue, a bug, or require assistance, please contact our support page here to find the solution. Don't forget to provide any important information on the issue.
Updated 29 days ago